So, you’re craving something ridiculously tasty, something that screams “I tried!” but actually requires minimal effort, and maybe, just maybe, you’re a tiny bit intimidated by the idea of cooking a *whole* chicken? Honey, you’re in the right place. We’re about to become besties with our Dutch oven and turn out a showstopper that tastes like you slaved all day, when really, you just… didn’t. Let’s make some magic (aka dinner)!
Why This Recipe is Awesome
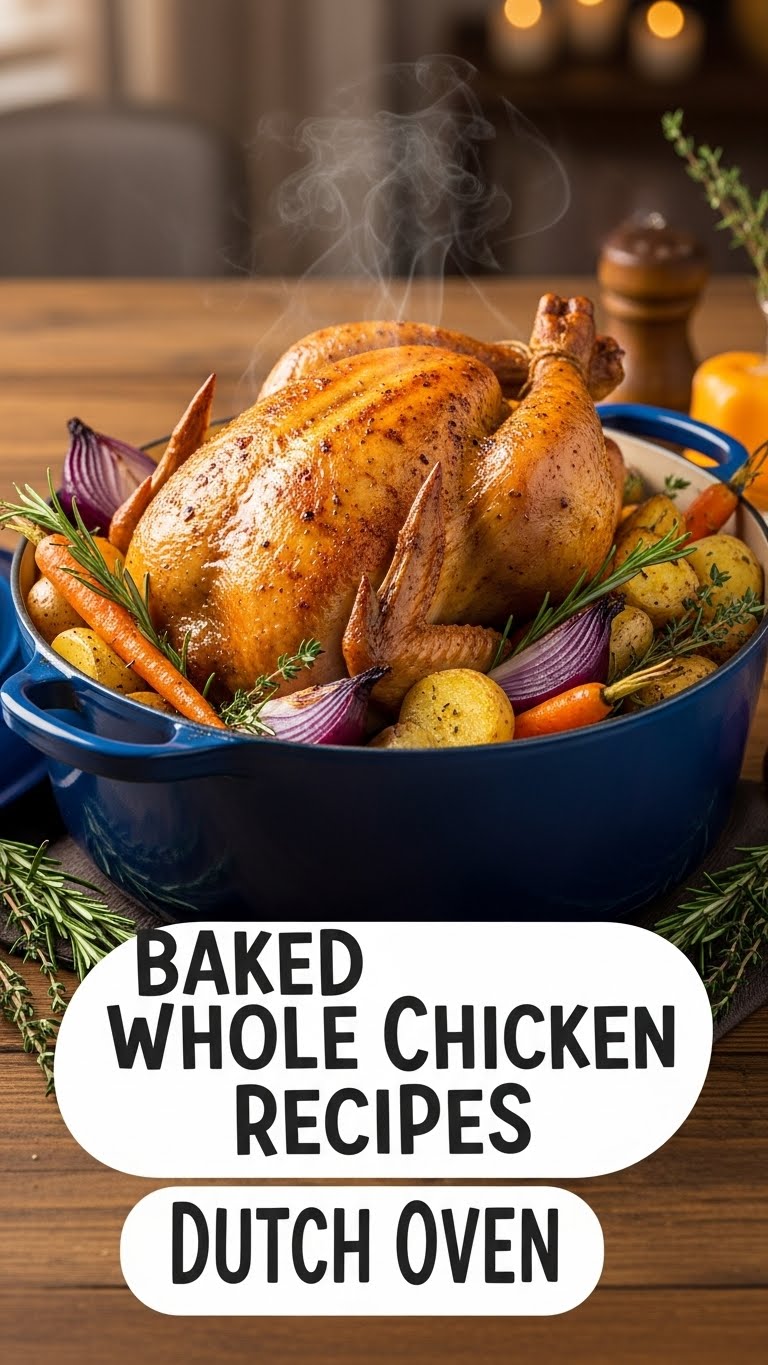
Because let’s be real, life is too short for bland chicken or endless dishes. This recipe? It’s the culinary equivalent of hitting the snooze button five times and still looking fabulous. It’s **idiot-proof**, I swear, even I couldn’t mess it up. You basically throw a bunch of deliciousness into one pot, pop it in the oven, and emerge hours later a hero. Plus, the cleanup is practically non-existent. We’re talking one pot, people! One pot for a juicy, fall-off-the-bone chicken surrounded by tender, flavor-packed veggies. It’s the ultimate set-it-and-forget-it weeknight (or impressing-the-in-laws) meal. Your future self will thank you.
Ingredients You’ll Need
Get ready for a grocery list that won’t make your eyes water. Simple, classic, delicious:
- One Whole Chicken (3-5 lbs): The star of the show! Get a good quality one if you can.
- Small Potatoes (1-1.5 lbs): Think baby reds, Yukon golds, or fingerlings. Cut ’em in half if they’re a bit bigger.
- Carrots (3-4 large): Peeled and chopped into chunky, bite-sized pieces. No wimpy slices here.
- One Large Onion: Roughly chopped into big wedges. It’s going to melt into deliciousness.
- Head of Garlic: Yes, a whole head! Slice it in half horizontally. Don’t even bother peeling the cloves, they’ll soften and pop right out.
- Fresh Herbs: A few sprigs of rosemary and thyme. Trust me, these are non-negotiable for flavor.
- Butter (2-3 tbsp): Unsalted is preferred, but honestly, whatever you have. Or olive oil!
- Olive Oil (1-2 tbsp): For coating, just in case.
- Salt & Black Pepper: Generously, my friend. **Don’t be shy here!**
- Optional: A splash of white wine, chicken broth, or even a can of beer (lager works great!) for extra moisture and flavor. About 1/2 cup.
Step-by-Step Instructions
- Preheat & Prep: Get your oven cranking to 400°F (200°C). Seriously, preheat it. While it’s heating, grab your chicken. Pat it **super dry** with paper towels. This is key for crispy skin, FYI. Remove any giblets from the cavity.
- Season Like a Pro: In a small bowl, mix your butter (softened or melted) with a good pinch of salt, pepper, and some chopped fresh herbs (if you didn’t use whole sprigs). Gently loosen the skin over the chicken breast and rub about half the butter mixture under there. Then rub the rest all over the outside of the chicken. Don’t forget the cavity!
- Veggie Party: Toss your chopped potatoes, carrots, onion wedges, and garlic halves into the bottom of your Dutch oven. Drizzle with a little olive oil, salt, pepper, and the remaining fresh herb sprigs. Give it a good mix.
- Chicken Placement: Nest the seasoned chicken right on top of the veggies in the Dutch oven. If using, pour your chosen liquid (wine, broth, beer) around the veggies, avoiding the chicken skin.
- Sear (Optional but Recommended!): If your Dutch oven is stovetop safe, place it over medium-high heat for about 5-7 minutes without the lid to get the chicken skin a head start on browning. Then remove from heat. If you’re skipping this, no worries, it’ll still be delish.
- Bake It Till You Make It: Pop the lid on your Dutch oven and transfer it to the preheated oven. Bake for 1 hour and 15 minutes.
- Uncover & Crisp: After 1 hour and 15 minutes, remove the lid. Crank the oven temperature up to **425°F (220°C)**. Continue baking for another 30-45 minutes, or until the chicken skin is gloriously golden brown and crispy, and a meat thermometer inserted into the thickest part of the thigh (avoiding the bone) reads **165°F (74°C)**.
- Rest & Devour: Take the Dutch oven out of the oven. Transfer the chicken to a cutting board and let it rest for 10-15 minutes before carving. This is crucial for juicy meat! While it rests, give the veggies a stir. Then, serve it up!
Common Mistakes to Avoid
We’ve all been there, darling. Let’s learn from my past culinary misadventures:
- Thinking you don’t need to preheat the oven: Rookie mistake! A cold oven means uneven cooking and sad skin. Don’t do it.
- Not patting the chicken dry: This is a big one. Wet skin = steamed skin = no crisp. Your chicken deserves better!
- Being stingy with the seasoning: Whole chickens can take a lot of salt and pepper. Don’t be shy, especially on the outside and under the skin. Bland chicken is a tragedy.
- Forgetting to rest the chicken: Impatience will cost you juice! Resting allows the juices to redistribute, resulting in a much more tender and flavorful bird. Seriously, walk away for 10 minutes.
- Overcrowding the pot: If your Dutch oven is too small for the chicken and veggies, things will steam instead of roast. Make sure everything has a little breathing room.
Alternatives & Substitutions
Feeling adventurous? Or just working with what you’ve got? No stress!
- Veggies Galore: Swap or add sweet potatoes, parsnips, bell peppers, or even apple chunks for a touch of sweetness. Just ensure they’re cut to a similar size for even cooking.
- Herb Heaven: No rosemary or thyme? Try sage, oregano, marjoram, or even a pinch of dried Italian seasoning. Fresh is best, but dried will still add flavor.
- Spice It Up: Want a little kick? Add a pinch of smoked paprika, chili powder, or a dash of cayenne to your seasoning mix.
- Liquid Logic: If wine or beer isn’t your thing, chicken broth or even just a splash of water will work wonders to create some steamy moisture and a flavorful broth for the veggies.
- Butter vs. Oil: Ran out of butter? Olive oil, avocado oil, or even coconut oil will work fine for rubbing on the chicken. The flavor will be slightly different but still delicious.
FAQ (Frequently Asked Questions)
Got questions? I’ve got (casual) answers!
- Do I really need a Dutch oven? Honestly, for this recipe, it’s the MVP. Its heavy bottom and tight-fitting lid create the perfect environment for juicy chicken and tender veggies. Can you use a large oven-safe pot with a lid? Sure, but results might vary.
- Can I use frozen chicken? Well, technically yes, but it needs to be *fully* thawed first. Trying to cook a frozen chicken is a recipe for disaster (and potentially food poisoning!). Plan ahead, buttercup!
- What if I don’t have fresh herbs? You can definitely use dried! Just remember that dried herbs are more potent, so use about 1/3 of the amount you would fresh.
- Can I make gravy from the pan drippings? YES! And you absolutely should! After removing the chicken and veggies, simply pour the drippings into a saucepan, add a tablespoon of flour or cornstarch slurry (mix with a little cold water first), whisk, and simmer until thickened. Heaven!
- My chicken isn’t getting crispy! What gives? Did you pat it dry? Did you remove the lid for the last part of cooking? Was your oven hot enough? These are the usual culprits. Give it more time uncovered at a higher temp if needed!
- How long do leftovers last? Cooked chicken, properly stored in an airtight container, is good in the fridge for 3-4 days. Perfect for salads or sandwiches!
- Can I add more vegetables? Absolutely! Just be mindful not to overcrowd your Dutch oven. If you have too many, they’ll steam instead of roast nicely. You might need a bigger pot, or simply less chicken.
Final Thoughts
See? That wasn’t scary at all, was it? You just conquered a whole chicken, made your kitchen smell incredible, and likely have minimal dishes to do. You’re basically a culinary rockstar now. So go ahead, bask in the glory, enjoy that amazing meal, and maybe even take a cheeky photo for the ‘gram. Now go impress someone—or yourself—with your new culinary skills. You’ve earned it!


