So you’re craving something tasty but too lazy to spend forever in the kitchen, huh? Same. Let’s be real, sometimes you just want that “I cooked a masterpiece” feeling without, you know, actually cooking a masterpiece. You want comfort food, you want flavor, and you want to be done before your favorite show starts. Well, my friend, buckle up, because we’re about to make some magic with shredded chicken and a whole lot of cheesy goodness. No actual magic required, just a baking dish and your beautiful self.
Why This Recipe is Awesome
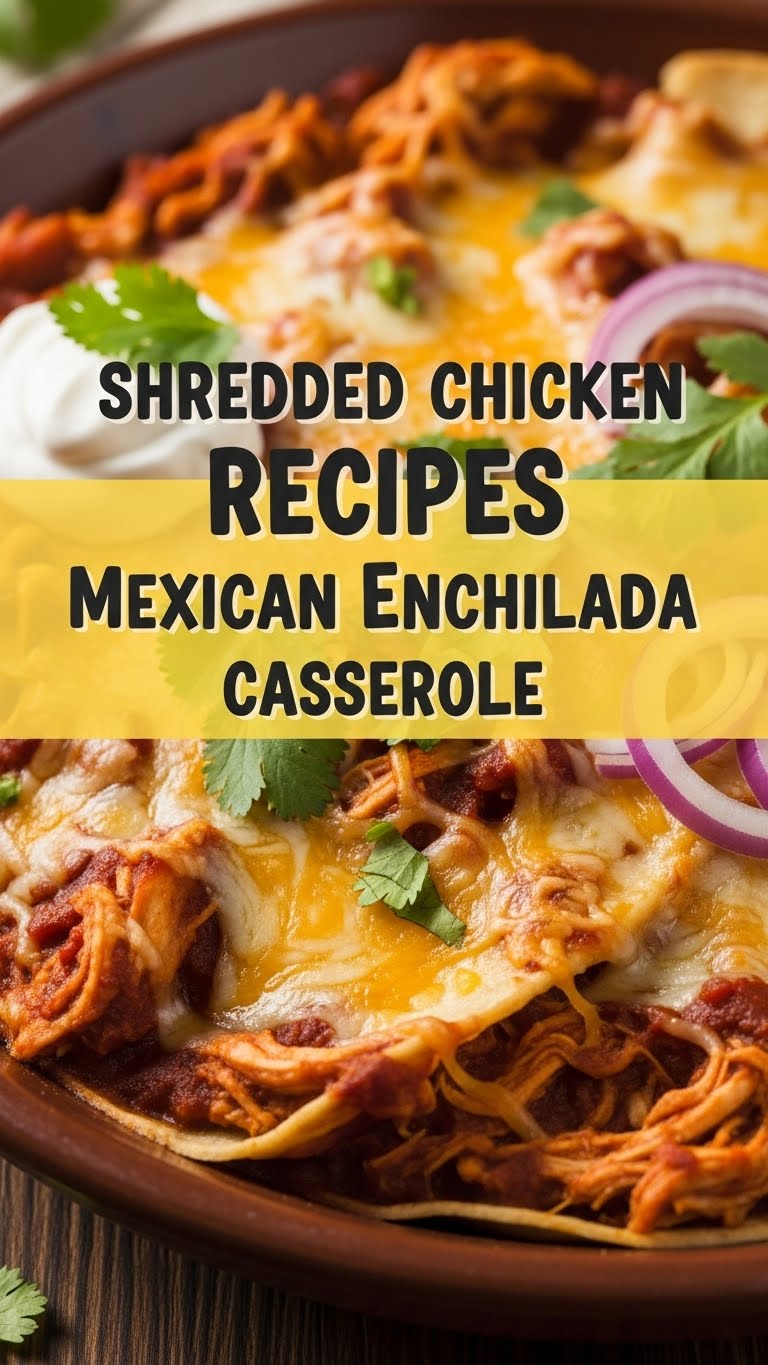
Seriously, if you can layer stuff and press a button on an oven, you’ve got this. This Mexican Enchilada Casserole is basically adult-level LEGOs, but edible and way more satisfying than a tiny plastic spaceship. It’s a lifesaver for busy weeknights, a crowd-pleaser for potlucks (if you’re feeling generous), and honestly, it tastes even better the next day. It’s also incredibly forgiving, so even if you’re a kitchen novice, it’s practically idiot-proof. Even I didn’t mess it up, and that’s saying something.
Ingredients You’ll Need
Time to gather your delicious arsenal! Here’s what you’ll need to transform into a culinary wizard (or just someone who made a really good dinner):
- Cooked Shredded Chicken: About 3 cups. Leftover rotisserie chicken is your ultimate BFF here. Or boil some breasts, whatever floats your boat (or saves you time).
- Tortillas: 10-12 (6-inch) corn or flour tortillas. Your choice! Corn gives it that authentic vibe, flour is a bit softer.
- Enchilada Sauce: One large can (28 oz) or two smaller cans (10 oz each) of your favorite red or green enchilada sauce. Don’t be shy with the good stuff!
- Shredded Cheese: 3 cups total. A mix of Monterey Jack and cheddar is classic, but a “Mexican blend” works perfectly. More cheese = more happiness, right?
- Onion: 1/2 small, finely chopped. Adds a little zing.
- Green Chiles: One (4 oz) can, diced. Mild or hot, your call. They add a lovely smoky kick.
- Olive Oil or Cooking Spray: For greasing your dish.
- Optional Toppings: Sour cream or Greek yogurt, fresh cilantro (chopped), diced avocado, a squeeze of lime. Because why not make it fancy?
Step-by-Step Instructions
Alright, let’s get this casserole party started! Follow these simple steps and prepare to be amazed by your own skills.
- Preheat & Prep: Preheat your oven to 375°F (190°C). Lightly grease a 9×13-inch baking dish with olive oil or cooking spray. A little oil prevents sticking and makes cleanup slightly less painful.
- Mix Your Filling: In a medium bowl, combine your shredded chicken, half of the chopped onion, and the diced green chiles. Stir in about 1/2 cup of your enchilada sauce. This keeps the chicken moist and flavorful.
- Sauce the Bottom: Pour about 1/2 cup of enchilada sauce into the bottom of your prepared baking dish and spread it around. This prevents your first layer of tortillas from sticking and getting sad.
- Layer 1 (Tortillas): Arrange about 4-5 tortillas over the sauce, overlapping them slightly to cover the bottom of the dish. Don’t worry if they don’t fit perfectly; you can tear them to fill in gaps.
- Layer 2 (Chicken & Cheese): Spoon half of the chicken mixture over the tortillas. Top with about 1 cup of shredded cheese. Because, cheese.
- Layer 3 (Sauce & Repeat): Drizzle another 1/2 cup of enchilada sauce over the cheese. Repeat with another layer of tortillas, the remaining chicken mixture, and another cup of cheese.
- Final Layer & Bake: Place the last layer of tortillas on top, pour the remaining enchilada sauce over everything, making sure it’s nicely covered. Sprinkle with the final cup of cheese (and the rest of the chopped onion, if you’re using it).
- Bake to Perfection: Pop it into your preheated oven and bake for 25-30 minutes, or until the casserole is bubbly around the edges and the cheese on top is melted and golden brown.
- Rest & Serve: Let the casserole rest for 5-10 minutes after taking it out of the oven. This helps it set and makes it easier to slice without falling apart. Garnish with your optional toppings, then dig in!
Common Mistakes to Avoid
Even the pros make mistakes, but since you’re hanging with me, you get the cheat sheet. Avoid these pitfalls to ensure your casserole is a masterpiece, not a messy-piece:
- Not Preheating the Oven: Rookie mistake, my friend. Your casserole deserves a warm welcome, not a cold shoulder. It helps everything cook evenly and prevents sad, soggy bottoms. Nobody wants sad, soggy bottoms.
- Skimping on Sauce: This isn’t the time to be conservative. The sauce keeps everything moist and flavorful. Too little, and you’ll end up with a dry, boring casserole. More sauce equals more yum.
- Overfilling the Dish: We all love a generous casserole, but don’t pack it so full that it bubbles over and creates a fiery, cheesy mess in your oven. Leave a little room at the top.
- Not Letting it Rest: I know, you’re hungry. But resist the urge to cut into it immediately. A quick 5-10 minute rest allows the layers to settle, making it much easier to serve neatly. Patience, grasshopper!
Alternatives & Substitutions
Cooking should be fun and flexible, so don’t be afraid to experiment! Here are some ideas to shake things up:
- Protein Power-Up: No chicken? No problem! Cooked ground beef or turkey works wonderfully. For a vegetarian option, use black beans or pinto beans (or both!) instead of meat. Just drain and rinse them first, obvi.
- Sauce Swaps: If you’re feeling adventurous, try a homemade enchilada sauce, or even a spicy salsa verde for a different flavor profile. Just make sure it’s liquid enough to spread.
- Cheese, Please: Any good melting cheese will do. Provolone, mozzarella, or even cotija (sprinkled on top after baking) can add new dimensions. Get creative!
- Veggie Boost: Want to sneak in some extra goodness? Add a layer of sautéed bell peppers, corn, or spinach to your chicken mixture. Just make sure they’re cooked down a bit so they don’t release too much water.
FAQ (Frequently Asked Questions)
Got questions? I’ve got answers (and a little sass)!
- Can I use raw chicken? Nope! You absolutely need cooked shredded chicken for this recipe. Raw chicken won’t cook through properly in the casserole and could make you… well, not feel so great. Cook it first, okay?
- Can I make this ahead of time? Yes, you smart cookie, you! Assemble the entire casserole (without baking), cover it tightly with foil, and refrigerate for up to 24 hours. When you’re ready to bake, add about 10-15 minutes to the baking time since it’s starting cold.
- What kind of tortillas are best? Honestly, it’s a personal preference! Corn tortillas give it a more traditional, slightly chewier texture, while flour tortillas make it softer and easier to cut. Try both and see what you love.
- Is it spicy? That depends entirely on your enchilada sauce and green chiles. If you use mild sauce and chiles, it’ll be pretty mellow. For a kick, grab medium or hot sauce, or add a pinch of cayenne to your chicken mix.
- How long does it last in the fridge? If covered well, your delicious casserole will last 3-4 days in the refrigerator. Perfect for leftovers, IMO.
- Can I freeze it? Absolutely! Bake the casserole, let it cool completely, then cover it tightly (either in the dish or portioned out) and freeze for up to 2-3 months. Thaw in the fridge overnight and reheat in the oven or microwave.
- Do I need to fry the tortillas first? For this casserole, no! The sauce soaks into them and makes them soft and pliable during baking. Some recipes do, but for this easy version, you can skip that step. You’re welcome!
Final Thoughts
And there you have it, folks! Your very own, incredibly delicious, easy-peasy Mexican Enchilada Casserole. You’ve navigated the kitchen, layered like a pro, and now you have a bubbling dish of comfort waiting for you. Go ahead, pat yourself on the back, you totally deserve it. Now go impress someone—or yourself—with your new culinary skills. You’ve earned it!


