So you’re craving something ridiculously tasty but can’t be bothered with grilling in the rain (or snow, depending on where you are)? Or maybe you’re just like me and sometimes the thought of firing up the outdoor grill feels like too much of a commitment. Same. Welcome, my friend, to the glorious, low-effort world of **grilled chicken… in your oven!** Yes, you read that right. We’re faking it till we make it, and honestly, no one will know the difference except your happy taste buds.
Why This Recipe is Awesome
Look, I’m not gonna lie, this recipe is a lifesaver. It’s for those days when you want maximum flavor with minimum fuss. Think juicy, slightly crispy chicken that tastes like it spent quality time on a grill, but without all the charcoal wrestling or gas tank worries. It’s practically **idiot-proof** – and if I, a person who once set off the smoke alarm making toast, can nail this, so can you. Plus, cleanup is usually a breeze, especially if you line your pan. We love a win-win situation, don’t we?
Ingredients You’ll Need
Gather ’round, my fellow culinary adventurer! Here’s what you’ll need for this magic trick. Don’t worry, it’s nothing fancy pants.
- Chicken: About 1.5 – 2 lbs of boneless, skinless chicken breasts or thighs. Breasts are classic, thighs are juicier. Your call, champ.
- Olive Oil: A couple of tablespoons. Our liquid gold for crispiness and flavor delivery.
- Salt & Black Pepper: To taste. Don’t be shy, but also don’t overdo it. Balance, young padawan.
- Garlic Powder: 1 teaspoon. Because garlic makes everything better. It’s a scientific fact.
- Paprika: 1 teaspoon. For that lovely color and a hint of smoky sweetness.
- Onion Powder: ½ teaspoon. Garlic’s equally awesome sibling.
- Optional Flavour Boosters:
- Lemon Juice: A squeeze for brightness.
- Dried Herbs: Think oregano, thyme, or a mix like Italian seasoning.
- A Dash of Cayenne: If you like a little kick in your chicken’s pants.
- Honey or Maple Syrup: For a quick glaze towards the end, if you’re feeling fancy.
Step-by-Step Instructions
Get That Oven Hot!
First things first, preheat your oven to a scorching 400°F (200°C). If your oven has a “broil” setting, make sure it’s ready to rumble too, because we’ll be using it at the end to get that glorious “grilled” char. Place your oven rack in the upper-middle position.
Prep Your Chicken
Pat your chicken dry with paper towels. This is **crucial for getting that beautiful sear**, so don’t skip it! If using breasts, consider pounding them to an even thickness (about ¾ inch) so they cook uniformly. No one wants one end perfectly done and the other dry as a bone, right?
Season Like a Pro
In a bowl, toss the chicken with olive oil until fully coated. Now, sprinkle generously with salt, pepper, garlic powder, paprika, and onion powder. Add any other optional herbs or spices you fancy. Make sure every piece is covered in that flavor fairy dust!
Pan It Up
Line a baking sheet with foil for easy cleanup (you’ll thank me later). Place an oven-safe wire rack on top of the foil-lined sheet. Arrange the seasoned chicken on the wire rack in a single layer, making sure not to **overcrowd the pan**. Give those chicken pieces some space to breathe!
Bake It ‘Til Done
Pop the baking sheet into your preheated oven. Bake for 15-20 minutes, flipping halfway through. The exact time will depend on the thickness of your chicken. You’re aiming for an internal temperature of 165°F (74°C).
Broil for the “Grill” Marks
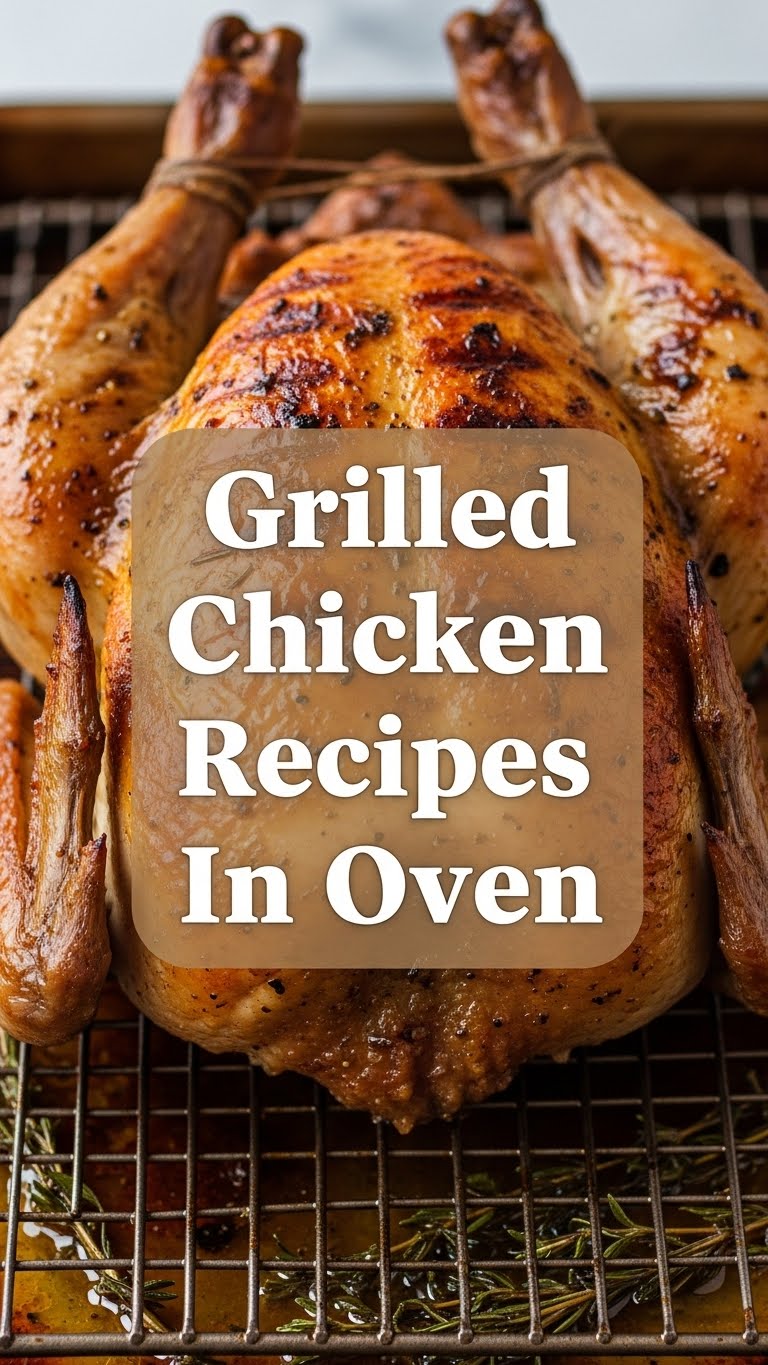
Once your chicken is cooked through, switch your oven to the broil setting (high). Move the baking sheet to the upper rack (about 6 inches from the broiler). Broil for 2-4 minutes per side, **watching like a hawk** to prevent burning! This is where you get those lovely golden-brown, slightly charred bits that scream “I just came off the grill!”
Rest, Then Devour
Remove the chicken from the oven and let it rest for 5-10 minutes before slicing or serving. This allows the juices to redistribute, keeping your chicken moist and tender. Trust me, it’s worth the wait!
Common Mistakes to Avoid
- Not Preheating: Thinking you don’t need to preheat the oven? Rookie mistake! A cold oven means uneven cooking and less crispiness.
- Wet Chicken: Forgetting to pat your chicken dry. Moisture is the enemy of crispy skin and good browning. Don’t be that person.
- Overcrowding the Pan: Shoving too much chicken onto one pan turns it into a steaming party, not a grilling one. Give those pieces some personal space!
- Skipping the Rest: Cutting into the chicken right after it comes out of the oven. All those precious juices will run out, leaving you with dry chicken. Let it chill for a bit!
- Forgetting to Watch While Broiling: Broilers are powerful! What goes from beautifully golden to carbonized happens in seconds. Stay near and keep an eye on it.
Alternatives & Substitutions
Feeling adventurous? Or just realized you’re out of paprika? No stress, my friend, we’ve got options!
- Chicken Cuts: Not a fan of breasts? Use boneless, skinless chicken thighs! They’re fattier, more forgiving, and ridiculously juicy. Just adjust cooking time slightly. Bone-in, skin-on chicken also works, but will take longer and yield crispier skin (win!).
- Spice Blends: Instead of individual spices, use a pre-made chicken rub, BBQ seasoning, or even a simple lemon-herb blend. IMO, the world is your oyster here.
- Oils: Avocado oil or grapeseed oil work just as well as olive oil for high-heat cooking.
- Add a Glaze: For the last 5 minutes of baking, brush your chicken with BBQ sauce, honey mustard, or a simple mix of honey and soy sauce for a sticky, sweet finish. Yum!
- Make it a Meal: Toss some quick-cooking veggies (like asparagus, bell peppers, or broccoli florets) on the same baking sheet (below the wire rack, catching drips for extra flavor!) for the last 15-20 minutes of cooking. Instant side dish!
FAQ (Frequently Asked Questions)
Got questions? I’ve got (casual) answers!
- Do I really need a wire rack? Well, technically you *can* do without it, but why hurt your chances of crispy chicken? The rack allows air to circulate all around, giving you that lovely “grilled” texture. Otherwise, you’ll have one soggy side.
- Can I marinate the chicken beforehand? Oh, absolutely! A quick marinade (30 mins to 4 hours) can infuse even more flavor and tenderness. Think lemon-herb, teriyaki, or a spicy chipotle marinade. Just pat it dry again before cooking!
- How do I know when the chicken is done without a thermometer? Honestly, a meat thermometer is your best friend here and totally worth the small investment. But if you don’t have one, cut into the thickest part of the chicken. If the juices run clear and the meat is opaque white (not pink!), it’s done. But seriously, get a thermometer.
- My chicken isn’t getting those nice “grill” marks under the broiler. What gives? Make sure your oven rack is close enough to the broiler element (usually 4-6 inches). Also, ensure your broiler is on the “high” setting. And don’t walk away!
- Can I use frozen chicken? Please, for the love of all that is delicious, thaw your chicken completely before attempting this recipe. Frozen chicken will cook unevenly and give you a sad, rubbery result.
Final Thoughts
And there you have it, folks! Your new go-to, stress-free method for getting perfectly “grilled” chicken right from your oven. It’s versatile, delicious, and requires minimal babysitting – a true weeknight hero. Now go impress someone – or just yourself, because that’s what really matters – with your new culinary skills. You’ve earned it!


