So you’re craving something tasty but too lazy to spend forever in the kitchen, huh? Same, friend, same. You want that impressive, “I spent all day cooking this” vibe without, you know, actually spending all day cooking. Enter: the humble (but mighty!) Dutch oven and a whole chicken. It’s about to become your new favorite culinary superpower, trust me.
Why This Recipe is Awesome
Let’s be real: this isn’t just a recipe; it’s a life hack. Why is it so awesome? First off, it’s practically **idiot-proof**. Even if your cooking skills peaked at boiling water (no judgment!), you can nail this. It’s a one-pot wonder, meaning minimal cleanup – and honestly, isn’t that half the battle? The Dutch oven locks in moisture like a culinary force field, guaranteeing the most incredibly juicy chicken you’ve ever had, with perfectly crispy skin to boot. It’s the kind of meal that makes your house smell like a five-star restaurant, your family sing your praises, and your future self thank your past self for such an easy win. Win-win-win, if you ask me!
Ingredients You’ll Need
Gather your troops, folks! Here’s what you’ll need to make some magic happen. Measurements are a guideline; feel free to eyeball it like the seasoned chef you’re about to become.
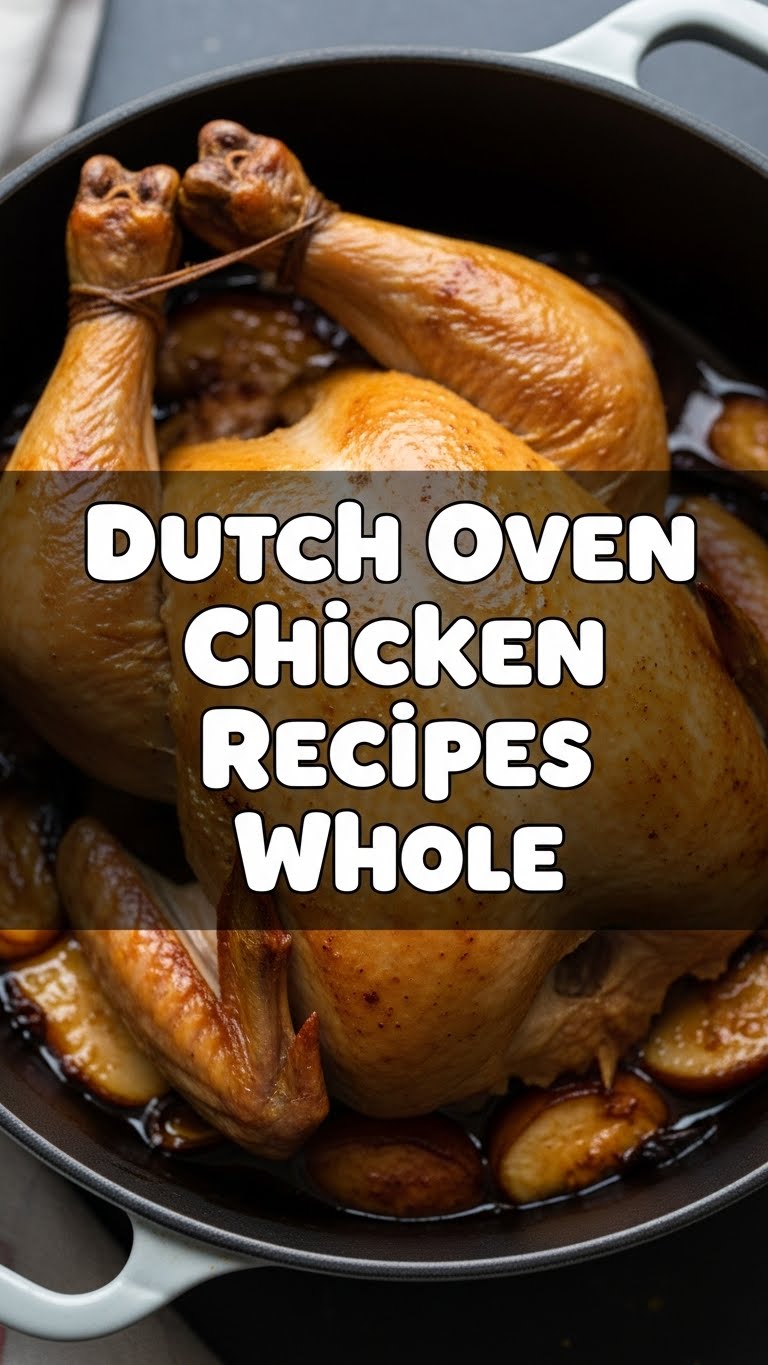
- One Whole Chicken: Roughly 3-4 lbs. The star of our show! Make sure it’s thawed, unless you’re planning a very, very long cooking session.
- Olive Oil: About 2-3 tablespoons. Our golden liquid friend for searing and seasoning.
- Salt & Freshly Ground Black Pepper: To taste. Don’t be shy; chicken loves seasoning!
- Smoked Paprika: 1-2 teaspoons. For that beautiful color and a whisper of smoky goodness.
- Garlic Powder (or fresh minced garlic): 1 teaspoon powder, or 3-4 cloves minced. Because garlic makes everything better. It’s science.
- One Lemon: Halved. One half for stuffing, the other for squeezing.
- One Large Onion: Quartered or roughly chopped. For flavor and aroma, and a comfy bed for the chicken.
- Carrots & Celery: 2-3 carrots, 2 stalks celery, roughly chopped. The “aromatic dream team” for roasting.
- Fresh Herbs: A few sprigs of rosemary and thyme. Or whatever fresh herbs you have lurking in your fridge. Dried works too, but fresh is extra *chef’s kiss*.
- Chicken Broth (or White Wine): ½ cup. For a little extra moisture and pan drippings, if you’re feeling fancy.
Step-by-Step Instructions
Alright, apron on (or not, we’re friends here), let’s do this!
- Chicken Spa Day: First things first, get that chicken nice and dry. Pat it down with paper towels inside and out. This is **CRUCIAL** for crispy skin!
- Season Like a Pro: Drizzle the chicken with olive oil, then rub it all over. Mix your salt, pepper, paprika, and garlic powder in a small bowl, then generously sprinkle and rub that goodness all over the chicken, under the skin, everywhere!
- Aromatics Party: Stuff the lemon halves and a few sprigs of herbs into the chicken cavity. Spread the chopped onion, carrots, and celery at the bottom of your Dutch oven. This is their cozy little bed.
- Sizzle Time! Heat your Dutch oven over medium-high heat on the stovetop. Add a splash of olive oil if it’s looking dry. Once hot, carefully place the chicken breast-side down. Sear for 5-7 minutes until beautifully golden brown. Flip it over and sear for another 5 minutes. This step is a flavor powerhouse!
- Add the Liquid Gold: Pour your chicken broth or white wine into the Dutch oven around the chicken, not directly on top. Throw in any remaining herbs.
- Oven Time! Pop the lid on your Dutch oven and transfer it to your preheated oven at 400°F (200°C). Roast for 60-75 minutes.
- Crispy Skin Alert: After 60-75 minutes, remove the lid. Let it roast for another 15-20 minutes, or until the skin is perfectly crispy and the internal temperature reaches 165°F (74°C) in the thickest part of the thigh (avoiding the bone).
- The Sacred Rest: Take the chicken out of the oven, transfer it to a cutting board, and tent it loosely with foil. Let it rest for at least 15-20 minutes. **DO NOT SKIP THIS STEP!** It allows the juices to redistribute, ensuring a super moist bird.
- Carve and Conquer: Carve that beauty up and serve with the roasted veggies and pan drippings. Prepare for applause.
Common Mistakes to Avoid
We all make mistakes, but let’s try to avoid these rookie blunders, shall we?
- Not Patting the Chicken Dry: You want crispy skin, right? Moisture is the enemy of crispiness. Get those paper towels out!
- Skipping the Sear: “But it’s an extra step!” you whine. Trust me, that golden-brown crust and extra layer of flavor from searing is worth every second. Don’t be lazy here!
- Not Preheating the Oven: Thinking you can just throw it in a cold oven and it’ll catch up? Nope. You’ll end up with unevenly cooked chicken. Patience, grasshopper.
- Opening the Lid Too Often: Resist the urge to peek! Every time you lift that lid, you let out precious heat and moisture, which messes with the cooking process.
- Ignoring the Resting Time: Carving a chicken straight out of the oven is a crime against juiciness. Seriously, let it chill.
- Overcrowding the Dutch Oven: If you’re roasting a tiny chicken with a mountain of veggies, make sure everything has space. Too crowded, and things will steam instead of roast beautifully.
Alternatives & Substitutions
Feeling adventurous? Or just working with what you’ve got? Here are some ideas:
- Veggie Swap: No carrots or celery? Throw in some quartered potatoes, sweet potatoes, parsnips, or even bell peppers. Just make sure they’re cut into similar-sized pieces so they cook evenly.
- Herb Power: Out of rosemary and thyme? Sage, oregano, or even a bay leaf will work wonders. Dried herbs are fine, just use about a third of the amount of fresh.
- Spice It Up: Feeling a different vibe? Try adding a pinch of cumin, chili powder, or even some dried Italian seasoning to your rub.
- Liquid Refresh: Instead of chicken broth, try a splash of hard cider, a dry white wine, or even a bit of orange juice for a citrusy twist.
- Butter Me Up: For extra richness, rub some softened butter under the chicken skin along with the olive oil. You won’t regret it.
FAQ (Frequently Asked Questions)
- Do I *really* need a Dutch oven for this? Well, for *this specific* recipe, yes! That’s kinda the point, isn’t it? Its heavy construction and tight-fitting lid are what make the magic happen. You could use a roasting pan, but the results won’t be quite as moist.
- My chicken is smaller/larger than 3-4 lbs. How does that change things? Good question! Smaller chickens will cook faster, larger ones slower. Always rely on a meat thermometer to tell you when it’s truly done (165°F / 74°C).
- Can I skip searing the chicken? You *can*, but why would you want to?! Searing gives you that amazing crispy skin and deepens the flavor profile. It’s like skipping the frosting on a cake. Don’t do it to yourself.
- What if I don’t have fresh herbs? No worries! Dried herbs are perfectly fine. Just use about 1/3 the amount you would fresh (so, if it calls for a tablespoon of fresh, use a teaspoon of dried).
- Can I make gravy from the pan drippings? Absolutely! Those drippings are liquid gold. Just skim off excess fat, then make a roux with a tablespoon of flour and a tablespoon of butter, gradually whisk in the drippings, and simmer until thickened. Heaven!
- How do I get super crispy skin? Besides patting it dry and searing, a little baking powder mixed into your salt rub can actually help dry out the skin even more, leading to extra crispiness. And, of course, that final uncovered roast!
Final Thoughts
See? You just cooked a whole chicken in a Dutch oven, and you barely broke a sweat. This isn’t just dinner; it’s an experience. It’s comfort food that feels fancy, easy food that looks hard, and a guaranteed crowd-pleaser (even if the crowd is just you, and honestly, that’s the best crowd). Now go impress someone—or yourself—with your new culinary skills. You’ve earned it!


