So you’re craving something ridiculously tasty but just can’t bring yourself to deal with the deep-fryer drama, huh? Same. What if I told you we could get that crispy, juicy, “I just had a delicious fried chicken experience” vibe without turning your kitchen into an oil slick war zone? Yeah, your oven’s about to become your new best friend, and you’re about to become a culinary wizard (without, you know, actually being one). Let’s do this!
Why This Recipe is Awesome
Okay, first things first: less mess. Like, significantly less. No splattering oil trying to give you an impromptu tattoo, no wrestling with giant pots of hot grease. It’s a win for your countertop, your clothes, and your sanity. Second, it’s (slightly) healthier. We’re baking, not bathing, these beauties in oil. It’s not health food, don’t get me wrong, but it’s a step up from a full-on fry-fest.
And the best part? **This recipe is practically idiot-proof.** Seriously. Even if your cooking skills typically peak at microwaving popcorn, you can totally nail this. We’re talking golden-brown, crunchy skin and perfectly tender, juicy meat. Get ready to impress yourself (and anyone lucky enough to be in your orbit).
Ingredients You’ll Need
Gather ’round, my friend. Here’s your shopping list for oven-fried chicken perfection:
- Chicken: About 2-3 lbs of your favorite pieces (drumsticks, thighs, wings are awesome here. Breasts work too, just keep an eye on them).
- Buttermilk: 2 cups. This is our secret weapon for tender, juicy chicken. Don’t skip it!
- All-Purpose Flour: 2 cups. The crispy coating’s BFF.
- The Spice Crew:
- 1 tbsp Smoked Paprika (for color and depth)
- 1 tbsp Garlic Powder (because everything’s better with garlic)
- 1 tbsp Onion Powder (ditto for onion)
- 1 tsp Cayenne Pepper (optional, for a little kick, or more if you’re feeling spicy!)
- 1 tsp Salt
- ½ tsp Black Pepper
- Olive Oil or Vegetable Oil: A few tablespoons. Just enough to help things get gloriously crispy.
Step-by-Step Instructions
Let’s get down to business! Follow these super simple steps, and you’ll be chowing down on delicious “fried” chicken in no time.
- Marinate Time: Pat your chicken pieces dry with paper towels. This is crucial for crispiness, FYI. Then, dunk them into a bowl with the buttermilk. Make sure they’re fully submerged. Cover it up and let it chill in the fridge for at least 30 minutes, or ideally, a couple of hours. Overnight is even better if you’re a planner!
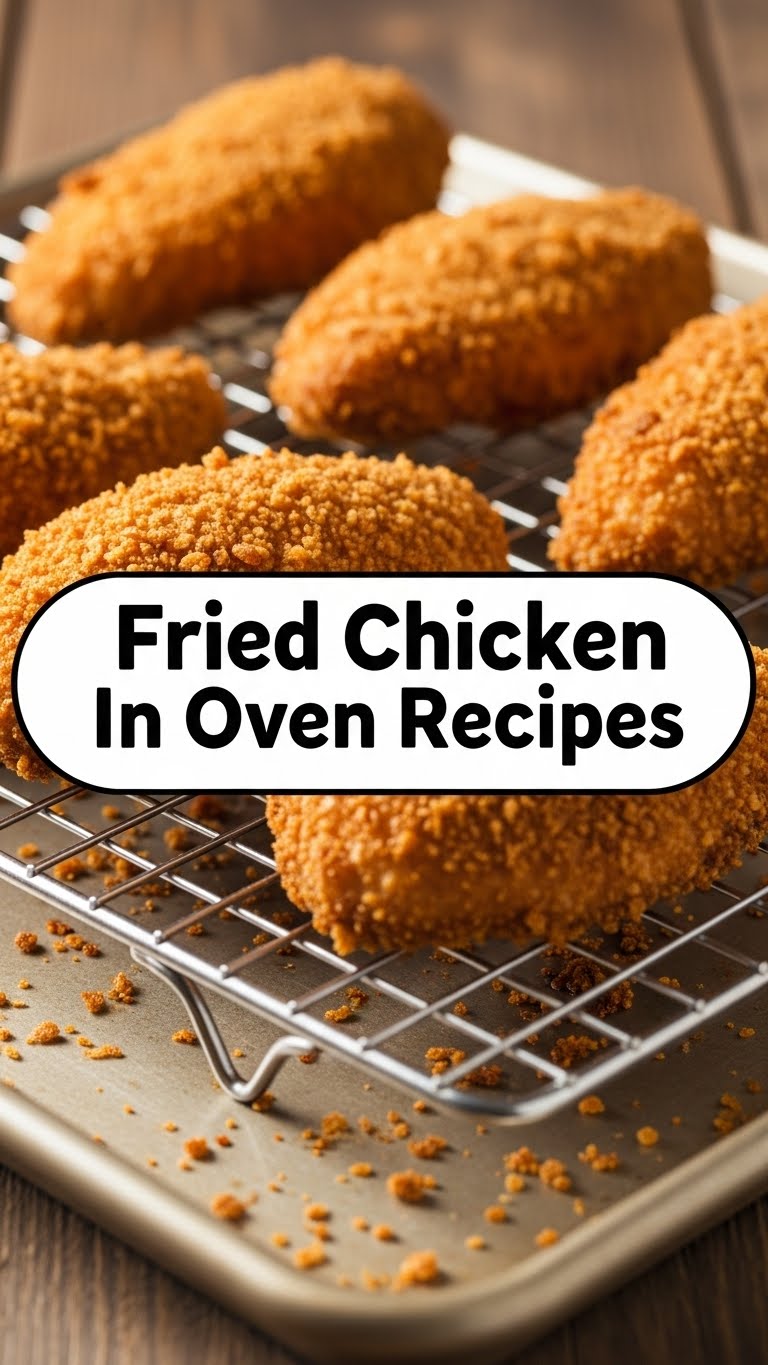
- Oven Warm-Up: While your chicken is chilling, preheat your oven to a nice, hot **425°F (220°C)**. Place a wire rack on a baking sheet. You can line the baking sheet with foil for easier cleanup – you’ll thank yourself later.
- Spice it Up: In a shallow dish or a large resealable bag, combine the flour, smoked paprika, garlic powder, onion powder, cayenne pepper (if using), salt, and black pepper. Give it a good whisk or shake to make sure all those flavors are mingling.
- Dredge and Coat: Take your chicken out of the buttermilk (letting any excess drip off). One piece at a time, dredge it thoroughly in the flour mixture. **Press firmly** to make sure the coating really sticks. You want every nook and cranny covered!
- Oil Up!: Drizzle about 1-2 tablespoons of oil over the coated chicken pieces and gently rub it in. This is the magic trick that helps achieve that fried crispness in the oven! Arrange the chicken on the wire rack, making sure there’s space between each piece for air to circulate. Don’t overcrowd the pan!
- First Bake: Pop the baking sheet into your preheated oven. Bake for 30 minutes.
- Flip & Finish: After 30 minutes, carefully flip each piece of chicken. Bake for another 15-25 minutes, or until the chicken is golden brown, crispy, and cooked through (internal temperature should reach 165°F/74°C). Timing might vary slightly depending on your chicken pieces.
- Rest, You Deserve It: Once done, take the chicken out and let it rest for 5-10 minutes before serving. This helps the juices redistribute, keeping your chicken moist and delicious. Don’t skip this step!
Common Mistakes to Avoid
We’ve all been there, staring at a culinary “oops.” Here are a few traps to steer clear of for oven-fried chicken glory:
- Thinking you don’t need to preheat the oven: Rookie mistake! A cold oven means less crispy chicken and longer cooking times. **Always preheat!**
- Overcrowding the pan: If your chicken pieces are spooning, they’re steaming, not baking to crispy perfection. Give them space, darling.
- Skipping the buttermilk soak: This isn’t just for flavor; it’s a tenderizing superhero. Your chicken will be sad and dry without it.
- Not patting the chicken dry (before buttermilk): Excess moisture is the enemy of crispiness. Give those chicken pieces a good towel-off!
- Not letting it rest: Impatience can lead to dry chicken. Seriously, just give it 5 minutes. It’s worth it.
Alternatives & Substitutions
Feeling a little rebellious, or just missing an ingredient? No worries, we’ve got options!
- No Buttermilk? No Problem: Mix 2 cups of regular milk with 2 tablespoons of lemon juice or white vinegar. Let it sit for 5-10 minutes until it curdles slightly. Voila! Instant buttermilk.
- Spice It Your Way: Not a fan of cayenne? Skip it! Want more smoky flavor? Add extra paprika or a pinch of chili powder. Love herbs? A bit of dried thyme or sage in the flour mix can be divine.
- Gluten-Free Gang: Swap out the all-purpose flour for a good gluten-free all-purpose blend. The texture might be slightly different, but it’ll still be delish.
- Air Fryer Fanatic? You can definitely adapt this! Follow the coating steps, then air fry at 375°F (190°C) for about 20-30 minutes, flipping halfway, until golden and cooked through. **IMO, it’s a great option for smaller batches!**
FAQ (Frequently Asked Questions)
Got questions? I’ve got (casual, probably humorous) answers!
- How long *should* I marinate the chicken?
Realistically, at least 30 minutes. But if you’re a superstar planner, 2-4 hours is great, and overnight (up to 24 hours) will give you the most tender, flavorful results. Don’t go past 24 though, or things get weird.
- Can I use boneless chicken breasts for this recipe?
Totally! Just keep in mind they cook faster. Check them at the 15-minute mark after flipping; you don’t want dry chicken. Nobody wants dry chicken.
- How do I get it *extra* crispy?
A few tricks: **make sure your oven is hot enough**, don’t overcrowd the pan, and the wire rack is your best friend. Also, a little extra oil rubbed onto the coated chicken helps tremendously!
- Can I prep the chicken ahead of time?
You bet! You can marinate it overnight. You can even dredge it in the flour mixture a few hours before baking and keep it on the rack in the fridge. Just let it come to room temp for about 15-20 minutes before baking.
- Dark meat vs. White meat – any preference?
Dark meat (thighs, drumsticks) tends to stay juicier and is more forgiving if you overcook it slightly. White meat (breasts) can dry out faster, so keep a closer eye on it. But honestly, use what you love!
- Can I make this spicier?
Absolutely! Crank up the cayenne pepper to 2-3 teaspoons, or even add a pinch of chili flakes to your flour mixture. Go wild, you spice fiend!
Final Thoughts
And there you have it, folks! Your very own, surprisingly easy, ridiculously delicious oven-fried chicken. Who knew your oven had such talents beyond heating up frozen pizza, right? You’ve just unlocked a new level of culinary confidence (and flavor!).
Now go forth and impress someone—or more importantly, yourself—with your new culinary skills. You’ve earned those crispy, juicy bites! Enjoy, and don’t forget to send me a pic (or, you know, a plate).


