So, you’re staring at your fancy (or not-so-fancy, no judgment here) Dutch oven, dreaming of a dinner that practically cooks itself? And ideally, involves chicken? My friend, you’ve come to the right place. Because today, we’re making some magic that’s so easy, your future self will thank your present self for being a culinary genius. No stress, just deliciousness. Promise!
Why This Recipe is Awesome
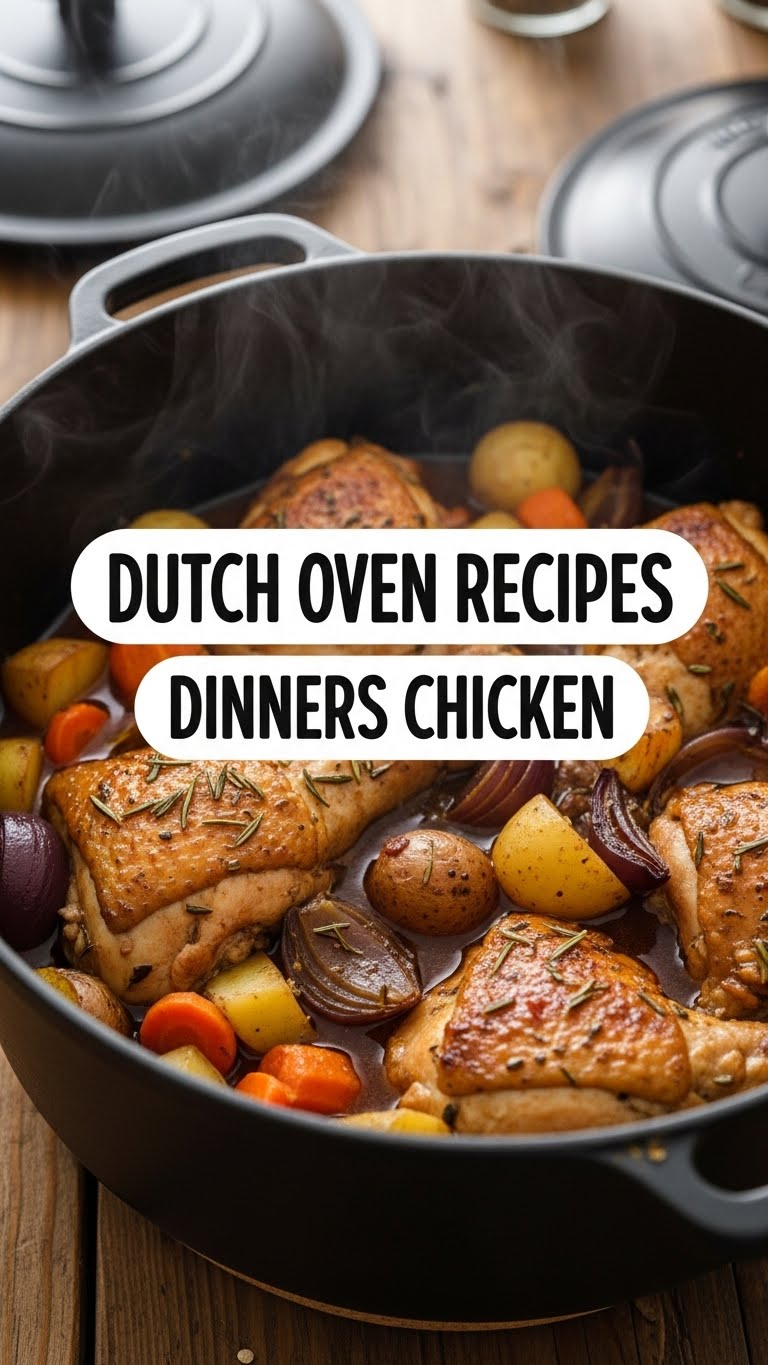
Let’s be real, life’s too short for complicated recipes unless you’re a masochist. This Dutch oven chicken dinner is the MVP of weeknight meals. Why? Because it’s a one-pot wonder, meaning less washing up (hallelujah!). It’s also ridiculously flavorful, because everything slow-simmers together, letting all those yummy juices mingle. Plus, it’s pretty much idiot-proof. Even I, after a particularly rough Tuesday, managed not to mess it up. That’s a strong endorsement, folks.
Ingredients You’ll Need (Let’s Get Shopping!)
- Chicken Thighs (bone-in, skin-on): About 4-6 of them. These are your flavor bombs. Don’t even THINK about boneless, skinless unless you want a culinary yawn-fest.
- Potatoes (baby or small Yukon Golds): Around 1.5 lbs, halved or quartered. They soak up all the chicken-y goodness like a sponge.
- Carrots: 3-4 medium, roughly chopped. For a touch of sweetness and “I’m eating vegetables!” points.
- Onion: 1 large, chopped. The unsung hero of flavor.
- Garlic: 4-5 cloves, minced. Because can you ever have too much garlic? (The answer is no.)
- Chicken Broth: 2 cups. The liquid gold that brings it all together.
- Olive Oil: A couple of glugs. For getting that gorgeous sear.
- Dried Herbs (Thyme, Rosemary, Oregano): 1 tsp each, or whatever blend makes your heart sing.
- Salt & Black Pepper: To taste. Be generous, but not reckless.
- Optional: Lemon (half, sliced): A few slices thrown in for a bright finish. Trust me on this one.
Step-by-Step Instructions (Don’t Panic, It’s Easy)
- Preheat & Prep: Get your oven heating up to a cozy 375°F (190°C). While it’s doing its thing, pat those chicken thighs dry with paper towels. This is crucial for crispy skin! Season them liberally with salt, pepper, and your chosen herbs.
- Sear the Chicken: Place your Dutch oven over medium-high heat on the stove. Add a glug of olive oil. Once hot, carefully place the chicken thighs skin-side down. Sear for about 5-7 minutes until the skin is beautifully golden brown and crispy. Flip them and sear for another 2-3 minutes. Remove the chicken and set aside.
- Sauté the Veggies: In the same pot (don’t clean it, those browned bits are flavor!), add the chopped onions and carrots. Sauté for about 5-7 minutes until they start to soften. Toss in the garlic and cook for another minute until fragrant.
- Build the Base: Add your potatoes to the Dutch oven with the other veggies. Pour in the chicken broth, making sure to scrape up any delicious browned bits from the bottom of the pot. Bring it to a gentle simmer.
- Bring it Together: Nest the seared chicken thighs back into the pot, skin-side up, on top of the veggies. If you’re using lemon, tuck a few slices around the chicken.
- Bake to Perfection: Pop the lid on your Dutch oven and transfer it to the preheated oven. Bake for 30 minutes.
- Crispy Finish: After 30 minutes, remove the lid (careful, it’s hot!). Continue baking for another 20-25 minutes, or until the chicken is cooked through (internal temp 165°F / 74°C) and the skin is extra crispy and golden. The potatoes should be tender.
- Rest & Serve: Take the Dutch oven out of the oven and let it rest for 5-10 minutes. This allows the juices to redistribute, making your chicken super moist. Serve directly from the pot and bask in the glory!
Common Mistakes to Avoid (Learn from My Fails)
- Not Patting the Chicken Dry: This is like trying to swim in jeans. It just doesn’t work for crispy skin. Always pat that bird dry!
- Overcrowding the Pot: If your chicken is too snug, it’ll steam instead of sear. Cook in batches if you need to, trust me.
- Forgetting to Scrape the Bottom: Those browned bits (fond, for the fancy folks) are pure gold. Don’t leave them behind!
- Thinking you don’t need to preheat the oven: Rookie mistake. A cold oven equals uneven cooking and a longer wait. Patience, young padawan.
- Ignoring the Rest Time: Seriously, give it a few minutes. Your chicken will be juicier, and you won’t burn your tongue in your excitement.
Alternatives & Substitutions (Because You Do You!)
Feeling adventurous? Or just out of something crucial? No worries, we’ve got options:
- Veggie Swap: No potatoes? Sweet potatoes work great! Green beans, bell peppers, or even chunks of zucchini can join the party, though maybe add them a bit later so they don’t get too mushy.
- Herb Power: Fresh herbs are fantastic if you have them – just use about three times the amount of dried. Not a fan of rosemary? Skip it! Use sage, marjoram, or an Italian blend.
- Spice it Up: Want a little kick? A pinch of red pepper flakes or a dash of smoked paprika will elevate this dish.
- Creamy Dreamy: For an extra luscious sauce, stir in a splash of heavy cream or a spoonful of cream cheese during the last 10 minutes of baking. It’s a game-changer, IMO.
FAQ (Frequently Asked Questions)
- Can I use chicken breasts instead?
- You *can*, but honestly, I wouldn’t recommend it for this particular recipe. Breasts tend to dry out faster, especially with this cooking time. If you absolutely must, try boneless, skinless breasts and add them during the last 20 minutes of baking. And maybe pray to the moisture gods.
- My Dutch oven lid doesn’t seal perfectly. Is that an issue?
- Nope! A tiny bit of steam escaping is fine. It just means your house will smell even more amazing, FYI. If it’s a huge gap, you might lose a little more liquid, so keep an eye on it.
- Can I make this ahead of time?
- Kind of! You can do all the searing and veggie sautéing, then let it cool, cover, and refrigerate. When ready to bake, bring it to room temp first, then proceed with step 6. The veggies might be a tad softer, but still delicious.
- What if I don’t have a Dutch oven?
- Oh, the horror! Just kidding. A deep, oven-safe pot with a tight-fitting lid will work. A heavy-bottomed stockpot or even a casserole dish covered tightly with foil could pinch-hit, but the heat distribution of a Dutch oven is really its superpower here.
- Can I add wine to the sauce?
- Absolutely! A splash of dry white wine (about half a cup) after sautéing the veggies and garlic, letting it simmer for a minute to reduce, adds a lovely depth of flavor. Think of it as giving your chicken a little spa treatment.
Final Thoughts
See? I told you it wasn’t scary! You just transformed a humble chicken and a few veggies into a feast worthy of applause, all thanks to the magic of the Dutch oven (and your undeniable culinary charm, of course). So go ahead, pat yourself on the back. You’ve earned it. Now go impress someone—or yourself—with your new culinary skills. Enjoy your delicious, effortless dinner, you superstar!


