So, you’re staring at your Instant Pot, imagining all the culinary masterpieces it *could* create, but your energy levels are currently “napping sloth” mode, right? And yet, your stomach is rumbling a serious demand for something delicious and, dare I say, *actually healthy*? My friend, you and I are basically soulmates. Because today, we’re whipping up an Instant Pot Lemon Herb Chicken and Veggies that’s so good, you’ll feel like a gourmet chef without actually having to *be* one. You’re welcome.
Why This Recipe is Awesome
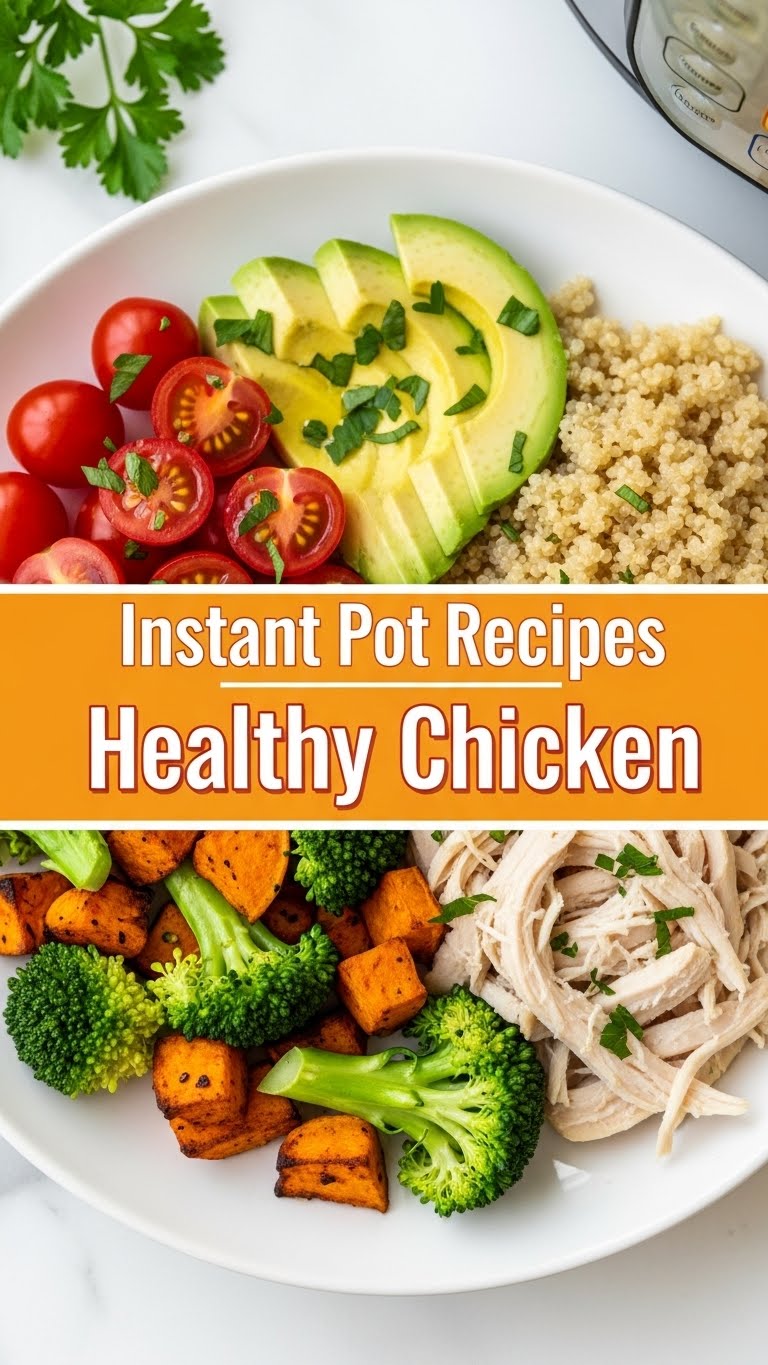
Let’s be real, you clicked on this because “Instant Pot” and “Healthy Chicken” were in the same sentence, and your brain screamed “YES!” Here’s the lowdown on why this recipe is about to become your new weeknight MVP:
- It’s lightning fast: We’re talking minimal prep, quick cook time. You can go from “hangry” to “happily fed” in less time than it takes to scroll through social media for the 17th time.
- Seriously healthy: Lean protein, vibrant veggies, fresh flavors. No weird stuff, just pure, wholesome goodness that actually tastes good.
- Idiot-proof: I’m not saying *you’re* an idiot, but if I (someone who once burned water, don’t ask) can make this successfully, you absolutely can too.
- Minimal cleanup: One pot, baby! Your dishwasher (or your hands, if you’re old school) will thank you profusely.
- Flavor bomb without the fuss: Bright lemon, aromatic herbs, tender chicken. It’s a flavor party, and everyone’s invited.
Ingredients You’ll Need
Gather your troops! Most of these are probably already lurking in your pantry or fridge. If not, a quick grocery run won’t break the bank or your spirit.
- 1.5 lbs Boneless, Skinless Chicken Breasts: Cut into 1-inch pieces. Or thighs, if you’re feeling rebellious and prefer dark meat.
- 1 tbsp Olive Oil: The good stuff, or whatever you have.
- 1 small Onion: Diced. Adds a nice base flavor, no tears required (unless you’re really sensitive).
- 3 cloves Garlic: Minced. Because is it even cooking without garlic? No.
- 1 cup Chicken Broth: Low sodium, please. We can add salt later if needed, but taking it out is a magic trick I haven’t mastered yet.
- 1 Lemon: Zested, then juiced. Don’t skip the zest! It’s where all the zing lives.
- 1 tsp Dried Italian Seasoning: Or a mix of dried oregano, thyme, and basil. Fresh herbs work too, if you’re fancy.
- 1/2 tsp Salt: Or to taste. Start small, you can always add more.
- 1/4 tsp Black Pepper: Freshly ground if you’re feeling extra.
- 3 cups Mixed Veggies: Think broccoli florets, sliced carrots, bell peppers, or green beans. Whatever makes your heart happy (and is currently in your fridge).
- Optional Garnish: Fresh parsley, a sprinkle of red pepper flakes if you like a little kick.
Step-by-Step Instructions
Alright, let’s get this show on the road! You’re about to become an Instant Pot wizard. Watch out, Hogwarts.
- Prep Like a Pro: First things first, get your chicken cut up into those bite-sized pieces. Dice your onion, mince your garlic, zest and juice your lemon. Mise en place, baby!
- Sauté the Good Stuff: Hit the “Sauté” button on your Instant Pot and add the olive oil. Once hot, toss in the diced onion and cook until softened, about 3-4 minutes. Now, add the minced garlic and cook for just another minute until fragrant. Don’t let it burn, or your kitchen will smell… interesting.
- Deglaze & Liquid Love: Pour in about half a cup of the chicken broth. Use a wooden spoon to scrape up any browned bits from the bottom of the pot. This is called deglazing, and it’s super important to prevent that dreaded “Burn” error.
- Add the Chicken & Flavor: Turn off the “Sauté” function. Add the chicken pieces to the pot, followed by the remaining chicken broth, lemon juice, lemon zest, Italian seasoning, salt, and pepper. Give it a gentle stir to combine everything.
- Seal the Deal: Close the lid of your Instant Pot, making sure the sealing ring is properly in place. Rotate the steam release valve to the “Sealing” position.
- Pressure Cook Time! Select “Manual” or “Pressure Cook” and set the timer for 6 minutes on high pressure.
- Release & Reveal: Once the cooking cycle is complete, let the pressure naturally release for 5 minutes (NPR 5). Then, carefully switch the steam release valve to “Venting” for a quick release (QR) of any remaining pressure.
- Veggies Go In: Carefully remove the lid. Add your mixed veggies (broccoli, carrots, etc.) to the pot. Close the lid again, ensuring the sealing valve is set to “Sealing.”
- Quick Steam Magic: Select “Manual” or “Pressure Cook” again, but this time set the timer for 0 minutes on high pressure. Yes, zero! This brings the pot to pressure and immediately releases, steaming the veggies perfectly without overcooking them. Once it hits pressure, immediately do a quick release (QR).
- Stir & Serve: Open the lid, give everything a good stir. Taste and adjust seasonings if needed. Garnish with fresh parsley or red pepper flakes if you’re feeling fancy. Serve immediately over rice, quinoa, or just as is!
Common Mistakes to Avoid
We’ve all been there, staring at a culinary disaster wishing we could turn back time. Learn from my (and others’) mistakes so you don’t have to!
- Not Enough Liquid: This is a biggie! Your Instant Pot needs liquid to build pressure. If you skimp, you’ll get the dreaded “Burn” error. Always make sure you have at least 1 cup of thin liquid.
- Forgetting to Seal the Vent: Happens to the best of us! If your steam release valve isn’t set to “Sealing,” your pot won’t come to pressure, and your food will just sit there getting mildly warm. Always double-check that valve!
- Overcrowding the Pot: While the Instant Pot is magical, it’s not a clown car. Don’t overfill it, especially with liquids, or it won’t cook properly and might even make a mess.
- Overcooking the Chicken: Especially chicken breasts. 6 minutes is usually perfect for bite-sized pieces. Longer, and you risk dry, sad chicken. Nobody wants sad chicken.
- Forgetting to Deglaze: See step 3 above. Those browned bits stuck to the bottom? They can trigger the “Burn” warning. Scrape ’em up!
Alternatives & Substitutions
Feeling creative? Or maybe you just ran out of an ingredient and need a quick fix? No judgment here, only solutions!
- Protein Swap: Not a chicken fan today? You can totally use pork tenderloin (cut into similar pieces) or even firm tofu for a vegetarian twist. Adjust cooking time as needed.
- Veggie Variety: Broccoli and carrots are great, but almost any quick-cooking veggie works. Asparagus, green beans, mushrooms, or thinly sliced bell peppers would be fantastic. Just avoid super starchy veggies like potatoes if you’re trying to keep it low-carb, or add them with the chicken for longer cooking.
- Herb Power: Out of Italian seasoning? Fresh herbs like rosemary, thyme, or oregano would be amazing. Just use about 3 times the amount of fresh herbs compared to dried. Or, if you’re feeling spicy, add a pinch of red pepper flakes with your garlic.
- Citrus Kick: No lemon? A splash of white wine or even a little apple cider vinegar could add a similar tang, though lemon really shines here.
- Creamy Dreamy: Want to make it a little richer without going full heavy cream? Stir in a tablespoon of cream cheese or a splash of coconut milk at the end. Your secret is safe with me.
FAQ (Frequently Asked Questions)
Got questions? I’ve got (mostly) answers! Fire away!
- Can I use frozen chicken? Well, technically yes, but why make things harder? If you use frozen, you’ll need to cut it first (which is a pain when frozen) or increase the pressure cooking time significantly (think 10-12 minutes for whole breasts), and your veggies might get mushier if added simultaneously. For best results, thaw your chicken first!
- How long does this last in the fridge? Assuming you haven’t attacked it with a fork immediately, it’ll keep nicely in an airtight container for 3-4 days. Perfect for meal prep, FYI!
- Can I double the recipe? You sure can, assuming your Instant Pot is big enough. Just make sure not to exceed the “MAX FILL” line. The cooking time for the chicken won’t change much, but it might take a little longer to come to pressure.
- What if I don’t have fresh lemon? You can use bottled lemon juice in a pinch, but the zest from a fresh lemon really makes a difference in flavor. If you’re using bottled, use a bit less and maybe add a tiny splash of white wine vinegar for brightness.
- Is it really healthy? It tastes too good! Ha! That’s the magic of using fresh ingredients and an Instant Pot. It locks in flavor and nutrients without needing a ton of added fats or sugars. So yes, it’s genuinely healthy. Don’t feel guilty, just enjoy!
- My chicken isn’t cooked through, what gives? This usually means your chicken pieces were larger than 1-inch, or your Instant Pot took longer to come to pressure for some reason. Close the lid, reset to “Sealing,” and cook for another 2-3 minutes. No biggie!
- Can I add rice or pasta directly to the pot with the chicken? You can, but it gets a little trickier. Different ingredients cook at different rates and absorb liquid differently. For a consistent result, I’d recommend cooking them separately and serving this delicious chicken and veggie mix over them. That way, your chicken and veggies are perfectly cooked, and your grains aren’t mush. IMO, it’s worth the extra pot (or rice cooker!).
Final Thoughts
There you have it, folks! A ridiculously easy, super healthy, and unbelievably tasty Instant Pot Lemon Herb Chicken and Veggies recipe that proves you *can* have it all: flavor, speed, and health. No more excuses for ordering takeout when you can whip this up faster. Now go impress someone—or yourself—with your new culinary skills. You’ve earned it!


