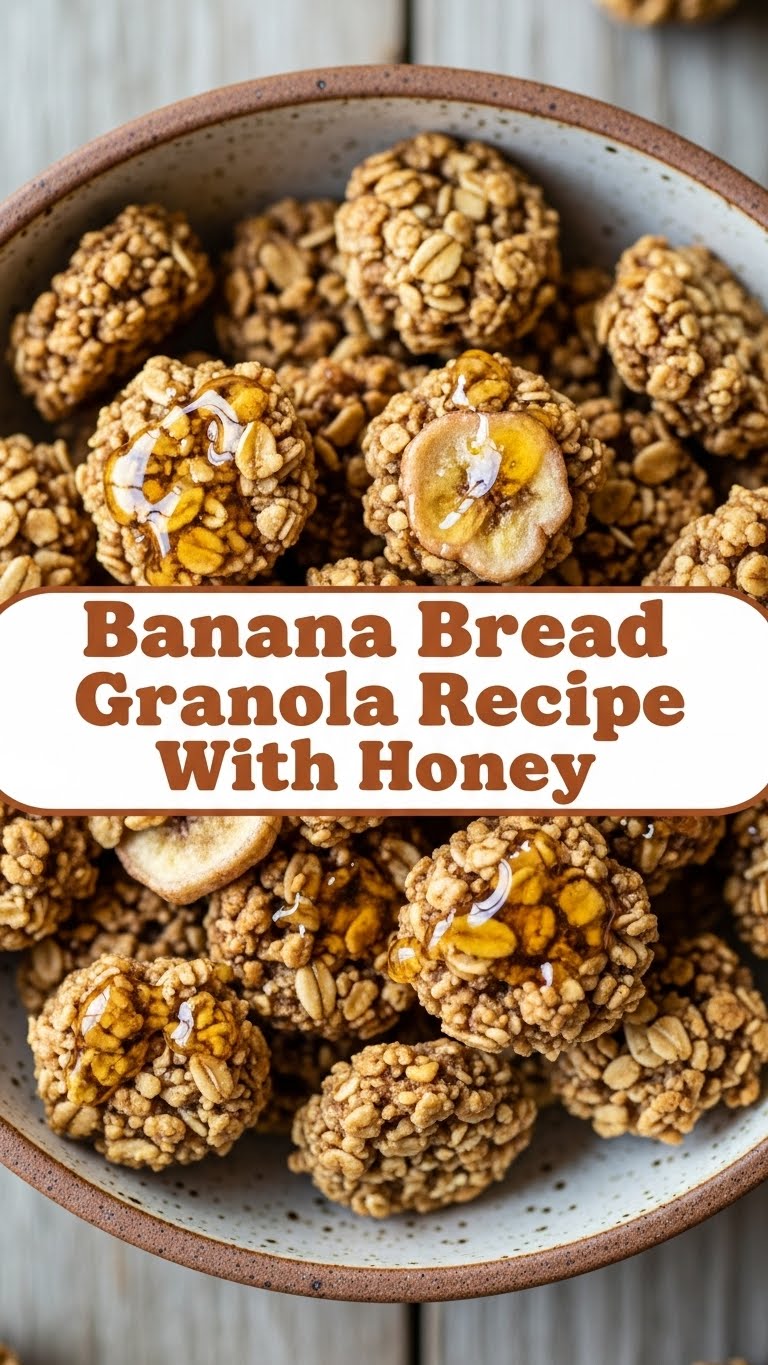
So you’re craving something tasty but too lazy to spend forever in the kitchen, huh? Same. But what if I told you there’s a way to get that cozy banana bread flavor *without* the whole baking-a-whole-loaf drama? Enter: Banana Bread Granola. It’s a crunchy, sweet, honey-kissed masterpiece that’s basically breakfast and dessert having a glorious love child. Let’s make some magic!
Why This Recipe is Awesome
Honestly, this recipe is a game-changer. It’s ridiculously easy, perfect for those days when your motivation is running on fumes. Plus, it’s customizable AF! Think of it as your edible blank canvas. And the best part? It tastes like a warm hug from your grandma who secretly bakes the best banana bread on the planet. It’s seriously idiot-proof; even I didn’t mess it up (and that’s saying something).
Ingredients You’ll Need
- Rolled Oats: The backbone of our crunchy kingdom. Don’t skimp on the good stuff.
- Ripe Bananas: The riper, the better! Think spotty, sad-looking bananas that nobody else wants. Their sweet, mushy glory is what we’re after.
- Honey: Our liquid gold. It adds that perfect sweetness and helps everything get delightfully sticky.
- Melted Butter: Because, duh. Butter makes everything better. Use unsalted, or adjust salt later if you’re feeling spicy.
- Vanilla Extract: A teaspoon of pure magic.
- Cinnamon: Essential for that classic banana bread vibe. Don’t be shy!
- Pinch of Salt: Balances out the sweetness. Don’t skip it!
- Optional Add-ins: Chopped nuts (walnuts or pecans are bomb!), chocolate chips (because when are chocolate chips NOT a good idea?), dried cranberries, or shredded coconut.
Step-by-Step Instructions
- Preheat and Prep: Crank your oven to 300°F (150°C). Line a baking sheet with parchment paper. This is your non-stick magic carpet for the granola.
- Mash Those ‘Nanas: In a large bowl, mash those ripe bananas until they’re smooth and creamy. Think baby food, but way more exciting.
- Wet Ingredients Party: To the mashed bananas, add your honey, melted butter, and vanilla extract. Stir it all up until it’s a harmonious, gooey mess.
- Dry Ingredients Join the Fun: Dump in the rolled oats, cinnamon, and salt. Stir everything together until the oats are thoroughly coated. This is where the “banana bread” flavor really starts to come alive.
- Spread the Love: Pour the mixture onto your prepared baking sheet. **Spread it out in a single layer** as evenly as possible. This helps it bake up nice and crunchy.
- Bake it ‘Til It’s Golden: Pop it in the oven for about 25-30 minutes. **Stir it halfway through** to ensure even browning. You’re looking for golden brown and delightfully fragrant.
- Cool Down Time: Take it out of the oven and let it cool completely on the baking sheet. This is crucial! It will crisp up as it cools. Don’t rush this part; patience is a virtue (especially when granola is involved).
- Add Your Flair (Optional): Once it’s totally cool, stir in any of your chosen add-ins, like nuts or chocolate chips.
- Store It: Store your glorious creation in an airtight container. It should last for a couple of weeks, but let’s be real, it’ll be gone way before then.
Common Mistakes to Avoid
- Using Unripe Bananas: They just won’t mash well or provide enough sweetness. Go for the super-spotty ones!
- Not Spreading it Evenly: If you pile it up, some parts will get burnt while others stay mushy. Nobody wants a crunchy-burnt-mushy hybrid.
- Pulling it Out Too Soon: Seriously, let it cool. It’s like a caterpillar turning into a butterfly – it needs time to transform.
- Burning it: Keep an eye on it, especially during the last 10 minutes. Ovens can be finicky beasts.
Alternatives & Substitutions
Feeling fancy or just out of something? No worries! You can totally swap things up.
- Maple Syrup for Honey: Works like a charm if you’re not a honey fan or just ran out. It gives a slightly different, but equally delicious, flavor.
- Coconut Oil for Butter: For a dairy-free option, melted coconut oil is a fantastic sub. Adds a subtle tropical vibe.
- Flax Egg for Bananas (Partially): If you have fewer bananas, you can supplement with a “flax egg” (1 tbsp flaxseed meal + 3 tbsp water, let sit for 5 mins). It helps bind things, but you’ll lose some of that banana essence. Not my top pick, but it’s an option!
- Add Spices: Feeling adventurous? Throw in a pinch of nutmeg or cardamom for an extra layer of flavor.
FAQ (Frequently Asked Questions)
- Can I use instant oats? Ugh, please don’t. Rolled oats (old-fashioned) are the ones you want for that perfect chew and crunch. Instant oats will get way too mushy.
- My granola isn’t very crunchy. What did I do wrong? You probably didn’t let it cool *completely*. That cooling process is where the magic crunch happens. Also, ensure it was spread in a thin layer!
- Can I add chocolate chips before baking? You can, but they might melt into oblivion. For melty-but-still-recognizable chocolatey goodness, I recommend stirring them in after the granola has cooled.
- Is this healthy? It’s made with oats and fruit, so it’s got that going for it! But it also has honey and butter, so maybe don’t eat the whole batch in one sitting. Balance, people!
- How long does it stay fresh? In an airtight container at room temp, it should be good for about 1-2 weeks. But seriously, you’ll eat it before then.
- Can I make it vegan? Easy peasy! Swap the honey for maple syrup and the butter for coconut oil or another vegan butter alternative. Boom, vegan banana bread granola!
Final Thoughts
There you have it! Your very own batch of delicious, homemade banana bread granola. It’s perfect over yogurt, with milk, or just by the handful when you need a quick pick-me-up. Now go impress someone—or yourself—with your new culinary skills. You’ve earned it!

