Ever just get that *itch* for chocolate cake? Not a whole party-sized monstrosity, just… a personal-sized hug in cake form? Yeah, me too. And honestly, who has the energy to bake for an army when it’s just you (and maybe your cat judging your life choices) on a Tuesday night?
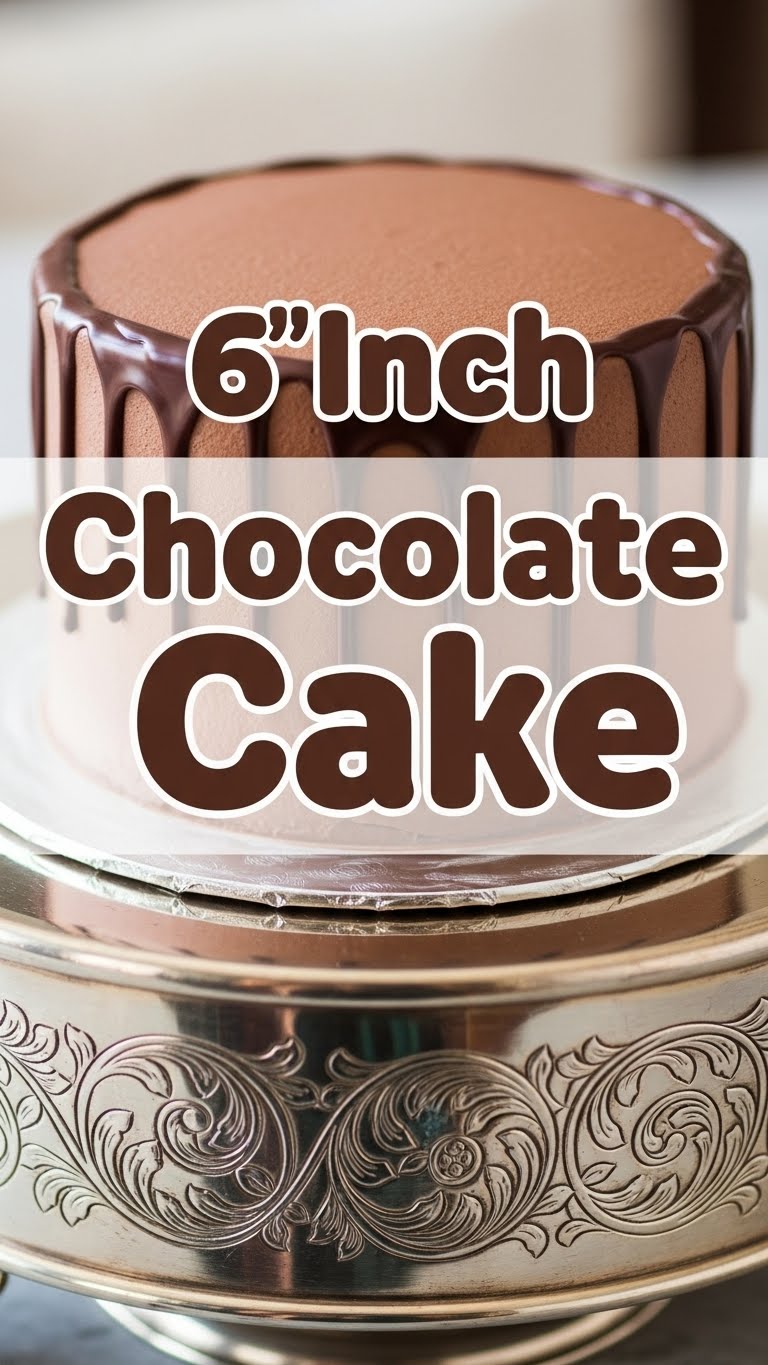
Enter the 6-inch chocolate cake. It’s the perfect size for when you need a little something sweet, but don’t want to commit to a multi-day cake-eating marathon. Think of it as your culinary secret weapon for instant gratification. Ready to dive into deliciousness without the fuss? Let’s do this!
Why This Recipe is Awesome
Because, my friend, this isn’t some fussy, pretentious patisserie nightmare. This is your “I need chocolate NOW” cake. It’s **quick**, it’s **easy**, and yes, it’s pretty darn **idiot-proof** – even *I* haven’t managed to mess this one up. Plus, it’s 6 inches, which means it’s small enough to pretend you’re not eating the whole thing yourself. Or, you know, just small enough to *actually* eat the whole thing yourself without feeling *too* guilty. Win-win!
It’s moist, chocolatey, and seriously satisfying. What more could you ask for? A personal chef? Dream on, buddy, this recipe is way cheaper.
Ingredients You’ll Need
Gather ’round, buttercups! Here’s what you’ll need to whip up this little slice of heaven. No obscure ingredients, promise!
- 1 cup All-Purpose Flour: The basic stuff. Nothing fancy, we’re not baking for the Queen.
- ¾ cup Granulated Sugar: Because, duh, it’s cake.
- ⅓ cup Unsweetened Cocoa Powder: The good stuff that makes it actually taste like chocolate, not just brown sugar.
- ½ teaspoon Baking Soda: Gives it a little lift.
- ¼ teaspoon Baking Powder: Double the lift, double the fun! Don’t skip this dynamic duo unless you want a chocolate brick.
- ¼ teaspoon Salt: Just a pinch! Makes all the other flavors pop. Science, baby!
- 1 Large Egg: Your cake’s binder. Give it a good ol’ whisking later.
- ½ cup Milk: Any milk! Dairy, non-dairy, whatever’s chilling in your fridge.
- ¼ cup Vegetable Oil (or Canola): Keeps it super moist. Trust me on this one.
- 1 teaspoon Vanilla Extract: A splash of vanilla. Makes everything taste better, doesn’t it?
- ½ cup Hot Water or Hot Coffee: This is the **secret weapon** for deep chocolatey flavor. Hot coffee makes it even better (seriously!), but hot water works too.
For the Frosting (Optional, but highly recommended, FYI)
- ½ cup (1 stick) Unsalted Butter: Softened, please!
- 1 ½ – 2 cups Powdered Sugar: Sifted if you’re feeling fancy, but not strictly necessary.
- ⅓ cup Unsweetened Cocoa Powder: More chocolate, yay!
- 2-3 tablespoons Milk or Cream: To get that perfect consistency.
- ½ teaspoon Vanilla Extract: Because, again, vanilla.
Step-by-Step Instructions
Alright, apron on! Let’s bake this bad boy. It’s easier than parallel parking, I swear.
- Preheat & Prep: First things first, preheat your oven to **350°F (175°C)**. Grease and flour a 6-inch round cake pan. If you have parchment paper, cut a circle for the bottom. This prevents sticking, which is the bane of all bakers’ existence.
- Whisk Dry Ingredients: In a medium bowl, combine your flour, sugar, cocoa powder, baking soda, baking powder, and salt. Give it a good whisk until everything is super well combined. No lumps, please!
- Combine Wet Ingredients (Almost): In a separate smaller bowl, whisk together the egg, milk, oil, and vanilla extract.
- Mix it Up: Pour the wet ingredients into the dry ingredients. Mix on low speed (or by hand) until just combined. Don’t go crazy here; overmixing is a no-no!
- The Hot Stuff: Now, carefully pour in the hot water or hot coffee. The batter will look thin, like soup, but this is exactly what we want. Stir until it’s just incorporated. This step blooms the cocoa and makes the cake extra moist and chocolatey.
- Bake Time: Pour the batter into your prepared 6-inch pan. Pop it into the preheated oven for **25-30 minutes**, or until a wooden skewer inserted into the center comes out clean.
- Cool Down: Once baked, let the cake cool in the pan for about 10-15 minutes. Then, carefully invert it onto a wire rack to cool completely. **Patience, young Padawan!** Don’t even *think* about frosting it warm.
- Frosting Fun (If You’re Doing It!): While the cake cools, make your frosting. In a bowl, beat the softened butter until creamy. Gradually add the powdered sugar and cocoa powder, alternating with the milk/cream and vanilla. Beat until light and fluffy. If it’s too thick, add more milk; too thin, add more powdered sugar.
- Decorate & Devour: Once your cake is **completely cool** (seriously, I mean it!), frost it up! Slice yourself a generous piece and enjoy your handiwork. You earned it!
Common Mistakes to Avoid
We all make ’em! But here are a few rookie errors to steer clear of for perfect cake success:
- Overmixing the batter: Stop it. Once the flour just disappears, put down that whisk. Overmixing develops the gluten too much, making for a tough, chewy cake. Nobody wants a tough cake.
- Opening the oven door constantly to peek: Don’t! You’re letting all the heat out, causing your cake to sink in the middle. Trust the process and the timer.
- Not preheating your oven: Rookie mistake! A hot oven ensures a proper rise. If you put the cake in a cold oven, it won’t rise correctly, leading to a sad, flat cake.
- Trying to frost a warm cake: Oh honey, no. Frosting will melt and slide right off, creating a chocolatey mess that only your dog will appreciate. Embrace the chill!
Alternatives & Substitutions
Life happens, sometimes you don’t have exactly what the recipe calls for. No stress! Here are some easy swaps:
- Milk: Any milk works! Almond, oat, soy, good old cow’s milk. Use what you got chilling in the fridge.
- Oil: Melted butter (cooled slightly) works well for a richer flavor, but oil truly gives it that amazing moistness, IMO. Applesauce can also work for a healthier twist, but might change the texture a bit.
- Hot Water/Coffee: If you’re not a coffee person, or just don’t have any, hot water is perfectly fine. The coffee just enhances the chocolate flavor like magic!
- Frosting: Not feeling like making frosting? No shame in that game! Use store-bought chocolate frosting, or simply dust with powdered sugar. A quick ganache (equal parts hot cream and chocolate chips, stirred until smooth) is also super easy and fancy-looking.
FAQ (Frequently Asked Questions)
Got questions? I’ve got (casual and hopefully helpful) answers!
- Can I use margarine instead of butter for the frosting? Well, technically yes, but why hurt your soul like that? Butter just tastes better, IMO. But if that’s all you got, go for it!
- My cake sank in the middle! What happened? Probably one of a few things: you opened the oven door too early (don’t peek!), your oven temperature might be off, or you overmixed the batter. Next time, try not to peek and trust your oven thermometer!
- How do I store this masterpiece? Cover it tightly and keep it at room temperature for a day or two, or in the fridge for up to 4-5 days. If it lasts that long, that is.
- Can I make this into cupcakes? Absolutely! Just reduce the baking time significantly (think 15-20 minutes). Keep a close eye on them, as they cook much faster!
- Do I *really* need hot water/coffee? **Yes!** This step is crucial. It “blooms” the cocoa powder, making the chocolate flavor much more intense and gives the cake its signature moist crumb. Don’t skip this one, seriously.
- What if I only have an 8-inch pan? You can technically use it, but the cake will be much thinner and bake faster. For a thicker cake, you might want to double the recipe, but it won’t be a *personal* cake anymore!
Final Thoughts
And there you have it! Your very own 6-inch chocolate cake, ready to make any day a little bit sweeter. This little guy is proof that you don’t need a huge occasion or hours in the kitchen to enjoy something truly delicious. Now go impress someone – or, let’s be real, just yourself – with your new culinary superpowers. You’ve earned it, superstar!
Happy baking (and eating)!


