So you’re craving something warm, gooey, and utterly delicious but the thought of baking for an entire village makes your eyes glaze over? Me too, friend. Me. Too.
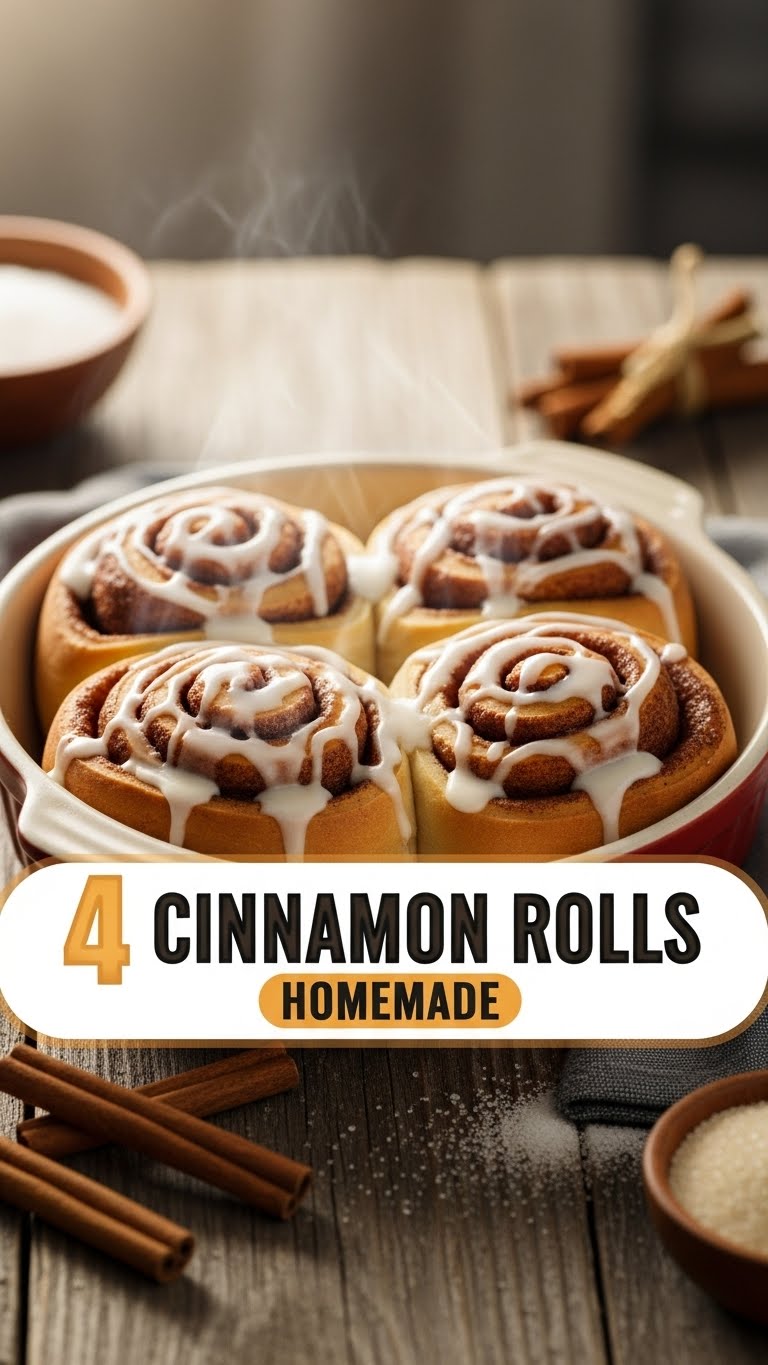
Sometimes you just need a little sweet treat, a hug in carb form, without committing to an all-day baking marathon or having a dozen rolls silently judge you from the counter. That’s where these 4 homemade cinnamon rolls swoop in like a delicious, buttery superhero. Get ready to impress yourself (and maybe one very lucky friend, or just future-you) with minimal fuss and maximum flavor.
Why This Recipe is Awesome
Because who needs 12 cinnamon rolls staring at them judgmentally, practically daring you to eat them all? We’re aiming for **satisfaction**, not a sugar coma that requires a nap and a whole new wardrobe. This recipe? It’s like the cheat code for your weekend morning. Less dough, less time, same ridiculously good vibes.
Plus, it’s pretty much **idiot-proof**. And if *I* can do it without setting off the smoke alarm (which is a surprisingly common occurrence in my kitchen, FYI), you totally can too. It’s perfect for solo indulgence, a cozy date night in, or just proving to yourself that yes, you *can* bake amazing things without going full Martha Stewart.
Ingredients You’ll Need
Just your basic kitchen staples, no weird potions required. Think of these as your delicious building blocks.
- For the Dough:
- ¾ cup warm whole milk (around 105-115°F, or comfortably warm to the touch. Too hot? You kill the yeast. Too cold? It sleeps forever. Goldilocks it!)
- 2 ¼ teaspoons active dry yeast (one standard packet, the stuff that makes magic happen)
- 2 tablespoons granulated sugar (for the yeast, and a little sweetness for the dough)
- 1 ½ cups all-purpose flour (and a little extra for dusting, because flour ghosts are real)
- ¼ teaspoon salt (don’t skip this, it makes everything taste better)
- 2 tablespoons unsalted butter, melted (because we’ll add our own salt, thank you very much)
- For the Filling:
- 2 tablespoons unsalted butter, softened (not melted, we want spreadable goodness)
- ¼ cup packed light brown sugar (dark works too, it’s all delicious in the end)
- 1 teaspoon ground cinnamon (the star of the show, obviously)
- For the Icing:
- ½ cup powdered sugar (also known as confectioners’ sugar, for that dreamy drizzle)
- 1-2 tablespoons whole milk (start with 1, add more until it’s pourable but not watery)
- ¼ teaspoon vanilla extract (optional, but highly recommended for that extra *oomph*)
Step-by-Step Instructions
- Wake Up the Yeast: In a medium bowl, combine the warm milk and 1 teaspoon of the granulated sugar. Sprinkle the yeast over top and give it a gentle stir. Let it sit for 5-10 minutes until it looks foamy and alive. If it doesn’t foam, your yeast is probably dead, or your milk was too hot/cold. Start over!
- Mix the Dough: To the foamy yeast mixture, add the remaining 1 tablespoon granulated sugar, salt, melted butter, and 1 ½ cups of flour. Stir with a wooden spoon until a shaggy dough forms.
- Knead It Out: Turn the dough out onto a lightly floured surface. Knead for 5-7 minutes until the dough is smooth and elastic. It should spring back when you poke it. This is your mini arm workout for the day!
- First Rise: Lightly grease the bowl you used before (or a clean one). Place the dough in the bowl, turning once to coat. Cover with plastic wrap or a clean kitchen towel and let it rise in a warm spot for 60-90 minutes, or until it has roughly doubled in size.
- Prep the Filling: While the dough is rising, mix the softened butter, brown sugar, and cinnamon for the filling in a small bowl until well combined. Set aside.
- Roll ‘Em Out: Once risen, gently punch down the dough to release the air. On a lightly floured surface, roll the dough into a roughly 8×10 inch rectangle. Don’t worry about perfection, it’s homemade!
- Spread the Love: Evenly spread the cinnamon-sugar filling over the entire surface of the dough, leaving a small border (about ½ inch) along one of the long edges.
- Roll ‘Em Up: Starting from the long edge *opposite* the clean border, tightly roll the dough into a log. Once rolled, pinch the seam closed to seal it.
- Slice & Dice: Using a sharp knife or (my personal fave) unflavored dental floss, slice the log into 4 equal pieces.
- Second Rise: Arrange the rolls in a small, lightly greased baking dish (an 8×8 inch square pan works great, or even a small round cake pan). Cover again and let them rise for another 30-45 minutes in a warm spot, until visibly puffy.
- Bake It Off: Preheat your oven to 375°F (190°C). Bake the rolls for 15-20 minutes, or until they are golden brown and cooked through. Keep an eye on them – ovens vary!
- Whip Up the Icing: While the rolls are baking, whisk together the powdered sugar, milk, and vanilla (if using) in a small bowl until smooth and drizzly.
- Drizzle & Devour: Let the baked cinnamon rolls cool for just a few minutes, then generously drizzle with the icing. Serve warm and bask in your glorious creation!
Common Mistakes to Avoid
Hey, we’ve all been there. Learning from mistakes is part of the fun, but here are a few shortcuts around the most common cinnamon roll blunders.
- Temperature Tantrums: As mentioned, yeast is a diva about milk temperature. **Too hot? Dead yeast.** Too cold? Sleeping yeast. Aim for **lukewarm, around 105-115°F**.
- Skimping on the Knead: Think of kneading as a mini arm workout for good dough. Not enough kneading means tough rolls. Nobody wants tough rolls. **Knead until it’s smooth and elastic.**
- Over-Baking Blues: Watch ’em like a hawk! Over-baked rolls are dry rolls. And dry rolls make baby angels cry. **Golden brown is the goal**, not mahogany.
- Impatience, My Dear Watson: Rushing the rise times is a cardinal sin. Yeast needs time to do its thing. **A proper rise equals fluffy rolls.** Trust the process.
- Under-filling Panic: Don’t be shy with that cinnamon-sugar goodness. Spread it to the edges (except for that one sealing edge). **More filling = more flavor.**
Alternatives & Substitutions
Feeling a little rebellious, or just working with whatcha got? Here are some simple tweaks.
- Milk Swap: Any dairy milk (2%, skim, etc.) works, as do most non-dairy milks (almond, oat, soy). Just ensure they’re unsweetened, or adjust sugar if you’re feeling fancy.
- Butter Believe It: Technically, you *could* use margarine for the dough or filling, but **butter just hits different, ya know?** For that classic richness and flavor, stick to butter IMO.
- Spiced Up: Feeling adventurous? Add a pinch of nutmeg, cardamom, or even a tiny dash of ginger to your cinnamon filling. Your tastebuds will thank you for the flavor party.
- No Vanilla? No Problem (Mostly): The vanilla in the icing is optional. It adds a lovely depth, but your icing will still be sweet and delicious without it.
FAQ (Frequently Asked Questions)
Let’s tackle some of those burning questions you might have.
- Can I make these ahead of time? Absolutely! You can assemble the rolls, place them in the baking dish, cover tightly with plastic wrap, and stick ’em in the fridge overnight. In the morning, pull them out about an hour before baking to come to room temp and get a final small rise, then bake as usual. Hello, fresh morning rolls!
- Why only 4 rolls? Is that even enough? Good question, but trust me, sometimes you just need a treat for you and maybe one very lucky friend (or just you again tomorrow, no judgment here!). It prevents the dreaded ‘leftover temptation’ too.
- My dough isn’t rising. Help! Is your yeast alive (did it foam up in the milk)? Was your milk too hot or too cold? Is your kitchen an icebox? **Warm environment is key for yeast.** Try placing the covered bowl in a slightly warm (but not hot) spot, like a turned-off oven with just the light on, or near a sunny window.
- Can I use whole wheat flour for a healthier twist? You can try, but the texture will be denser and less fluffy. For that classic, soft cinnamon roll, stick to all-purpose. **It’s a treat, embrace the white flour!**
- Do I need a stand mixer for this recipe? Nope! Your own two hands work perfectly fine for kneading, especially for a small batch like this. A mixer just makes the kneading part a bit less of a workout. **Embrace the hand-kneading, it’s therapeutic!**
- Can I skip the icing? You *can*, but why would you want to? The icing is the sweet, creamy crown to your cinnamon roll masterpiece. It completes the experience!
Final Thoughts
There you have it, superstar! Four glorious, homemade cinnamon rolls, ready to make your day infinitely better. Seriously, there’s almost nothing more comforting than the smell of fresh cinnamon rolls wafting through your kitchen.
Go forth, conquer your cravings, and bask in the glory of your baking prowess. You earned it! Now, if you’ll excuse me, I hear a cinnamon roll calling my name…


