Alright, listen up, my fellow dessert enthusiast! Are you staring at your screen, drooling slightly, and thinking, “I NEED chocolate cake, but I also need it to be, like, ridiculously easy and impressive?” Buddy, you’ve come to the right place. We’re about to make a 3-Layer Chocolate Cake that looks like you spent hours slaving away, but in reality? It’s practically a magic trick. Get ready to embrace your inner baking wizard!
Why This Recipe is Awesome
Because let’s be real, life is too short for bland, dry cakes, and way too short for complicated recipes that require a chemistry degree. This recipe is your new best friend for several reasons:
- It’s practically **idiot-proof**. Seriously, if I can do it without setting off the smoke alarm, you’re golden.
- It tastes like a fancy bakery creation but costs a fraction of the price. Your wallet (and your taste buds) will thank you.
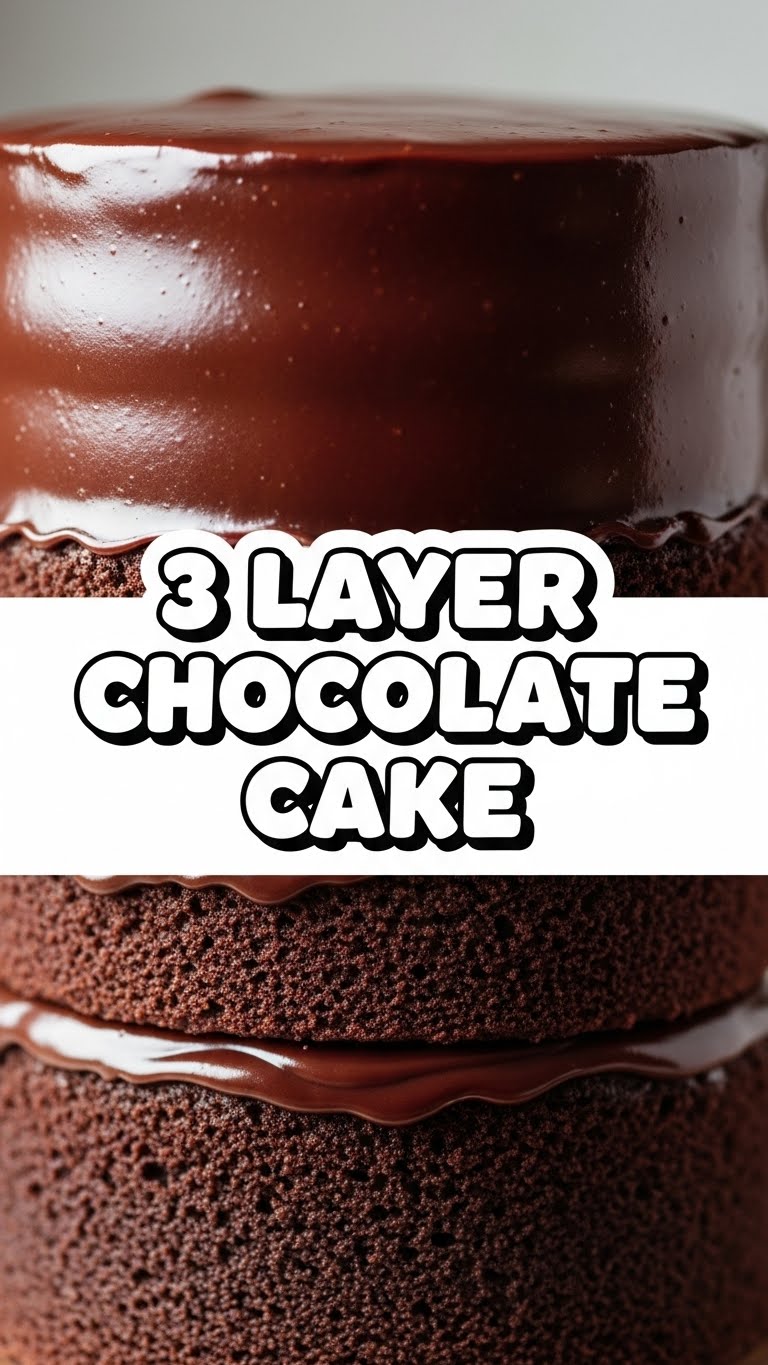
- It’s super moist and fudgy – no dry, crumbly sadness here, **promise**.
- The simple buttercream frosting is divine and comes together in minutes.
- **Impressiveness factor: 10/10.** Your friends and family will think you’re a culinary genius. Your secret? You found this gem.
Ingredients You’ll Need
Gather your troops! Here’s what you’ll need to conquer this chocolate mountain. Try to get good quality stuff, because, **IMO**, it really makes a difference!
For the Cake:
- All-purpose flour: About 2 cups. The MVP of baking, duh.
- Granulated sugar: 2 cups. For that sweet, sweet goodness.
- Unsweetened cocoa powder: ¾ cup. Go dark or regular, your call! More cocoa = more chocolatey soul.
- Baking soda: 2 teaspoons. Our lifting buddy.
- Baking powder: 1 teaspoon. Another lifting buddy. We like fluffy.
- Salt: 1 teaspoon. Don’t skip this! It makes everything taste better.
- Eggs: 2 large. Room temp is best, trust me on this.
- Milk: 1 cup. Again, room temp if you can remember.
- Vegetable oil: ½ cup. Or canola oil. Keeps things moist!
- Vanilla extract: 2 teaspoons. Essential. Your taste buds will revolt without it.
- Boiling water: 1 cup. The secret weapon for extra fudginess!
For the Chocolate Buttercream Frosting:
- Unsalted butter: 1 cup (2 sticks), softened. Definitely unsalted.
- Powdered sugar (confectioners’ sugar): 3-4 cups, sifted. Because nobody likes lumpy frosting.
- Unsweetened cocoa powder: ½ cup. For that rich, chocolatey frosting hug.
- Milk or heavy cream: ¼ cup. Adjust as needed for consistency.
- Vanilla extract: 1 teaspoon. Yes, more vanilla!
- Pinch of salt: Balances the sweetness.
Step-by-Step Instructions
Alright, apron on, good tunes playing, maybe a little dance party – let’s bake!
- Preheat & Prep: Preheat your oven to **350°F (175°C)**. Grease and flour three 8-inch round baking pans. Or, even better, line the bottoms with parchment paper and spray the sides. **Don’t skip the prep!**
- Whisk Dry Ingredients: In a large bowl, whisk together the flour, sugar, cocoa powder, baking soda, baking powder, and salt. Make sure there are no lumpy bits.
- Add Wet Ingredients (Almost All): To the dry mixture, add the eggs, milk, vegetable oil, and vanilla extract. Beat with an electric mixer on medium speed for about 2 minutes, until just combined and smooth. Don’t overmix!
- The Magic Touch: Carefully stir in the boiling water until the batter is smooth. It’ll be thin, but that’s exactly what we want. This is the secret to a super moist cake!
- Divide & Conquer: Divide the batter evenly among your three prepared cake pans. Eyeball it, or use a kitchen scale for absolute perfection.
- Bake Time: Bake for 28-32 minutes, or until a wooden skewer inserted into the center of a cake comes out clean. **Resist the urge to open the oven door early!**
- Cool Down: Let the cakes cool in their pans on a wire rack for about 10-15 minutes. Then, carefully invert them onto the wire rack to cool completely. **Patience, my friend, is key here.** Trying to frost a warm cake is a one-way ticket to a melted mess.
- Make the Frosting: While the cakes are chilling, beat the softened butter in a large bowl with an electric mixer until creamy (about 2 minutes). Gradually add the sifted powdered sugar and cocoa powder, alternating with splashes of milk/cream, until combined. Beat in the vanilla and salt. Continue beating on high speed until the frosting is light, fluffy, and spreadable. Add more milk if it’s too thick, or more powdered sugar if it’s too thin.
- Assemble Your Masterpiece: Once the cakes are completely cool, place one layer on your serving plate. Spread about a third of the frosting evenly over the top. Add the second cake layer, more frosting, then the third layer. Use the remaining frosting to cover the top and sides of the entire cake. Get fancy with your swirls or keep it rustic – it’s your creation!
- Devour: Slice, serve, and accept all the compliments. You’ve earned ’em!
Common Mistakes to Avoid
We’ve all been there. Learn from my oopsies so you don’t have to!
- **Not preheating the oven:** Rookie mistake! Your cake won’t rise properly if it goes into a cold oven. Always preheat!
- **Overmixing the batter:** This makes your cake tough. Mix until just combined, then stop. Less is more, especially with flour.
- **Opening the oven door constantly:** I know it’s tempting to peek, but this drops the oven temperature and can cause your cakes to sink in the middle. **FYI**, only open when it’s almost time to check for doneness.
- **Trying to frost warm cakes:** Oh, sweet summer child. This will result in frosting soup and a crumbling cake. **Cool cakes completely** – I mean totally, utterly, absolutely cool.
- **Skipping the salt:** It might seem counterintuitive for a sweet cake, but salt balances the sweetness and enhances the chocolate flavor. Don’t skip it!
Alternatives & Substitutions
Feeling a little adventurous or missing an ingredient? No stress, we can totally tweak this!
- Dairy-Free? Swap regular milk for almond, soy, or oat milk. Use a good quality plant-based butter (like Miyoko’s Kitchen or Earth Balance sticks) for the frosting.
- Oil vs. Butter: You *can* use melted butter instead of oil in the cake for a slightly different flavor profile, but oil really does make it super moist. For the frosting, stick to butter; it’s essential for texture.
- Flour Power: While all-purpose is great, you could try a 1:1 gluten-free baking blend if you’re avoiding gluten. Just make sure it includes xanthan gum.
- Frosting Flavors: Not feeling pure chocolate frosting? Try a classic vanilla buttercream, or add some espresso powder to your chocolate frosting for a mocha kick. Or, go wild with a raspberry or strawberry buttercream!
FAQ (Frequently Asked Questions)
Got questions? I’ve got (mostly sarcastic) answers!
- “Can I make this into a 2-layer cake instead?” Technically yes, just adjust the baking time (it’ll be longer) and maybe use 9-inch pans, but why deny yourself the majesty of three layers? Go big or go home!
- “My cake sank in the middle! What happened?” Did you open the oven too early? Or perhaps you live at a super high altitude? More commonly, it’s either underbaking or that pesky oven-door-peeking habit.
- “How long does this cake last?” In my house? About 24 hours, tops. Realistically, covered at room temperature, it’s good for 2-3 days. In the fridge, up to 5 days. Though it rarely makes it past day 1.
- “Can I make the cake layers ahead of time?” Absolutely! Once completely cooled, wrap them tightly in plastic wrap and freeze them for up to a month. Thaw at room temp before frosting. **Pro tip:** Freezing sometimes makes them even moister!
- “What if I don’t have three 8-inch pans?” You can bake in two 9-inch pans (adjusting baking time, probably 30-35 mins), or bake one at a time if you only have one pan. Just make sure you clean and prep the pan between batches.
- “Can I use margarine instead of butter in the frosting?” Well, technically yes, but why hurt your soul like that? Butter just tastes better and gives a superior texture. Treat yourself!
Final Thoughts
So there you have it! Your new go-to recipe for a show-stopping, absolutely delicious 3-layer chocolate cake. It’s perfect for birthdays, celebrations, or just a Tuesday when you really, really deserve some chocolate (which is every Tuesday, right?). Now go impress someone—or yourself—with your new culinary skills. You’ve earned it! Don’t forget to take a picture and share your masterpiece!


