So, you’re scrolling through Instagram, see a gorgeous, towering chocolate cake, and think, “Ugh, I could never make that.” Hold up, buttercup! What if I told you that impressive 2-tier chocolate masterpiece is totally within your grasp, even if your usual baking specialty is opening a packet of biscuits? Yeah, I know, revolutionary stuff. We’re about to dive into making something that looks fancy but is secretly just a really good time in the kitchen (and in your mouth). Forget the stress, let’s make some cake!
Why This Recipe is Awesome
Okay, let’s be real. This isn’t just “another” chocolate cake recipe. This is THE recipe for when you want to look like a baking guru without actually being one. It’s:
- Foolproof-ish: Even if you think your oven hates you, this recipe is incredibly forgiving. We’re talking “I didn’t even burn the water” level of easy.
- Seriously Delicious: We’re not doing dry, sad cake here. This is moist, rich, deeply chocolatey goodness that will make people ask for seconds (and the recipe, obvs).
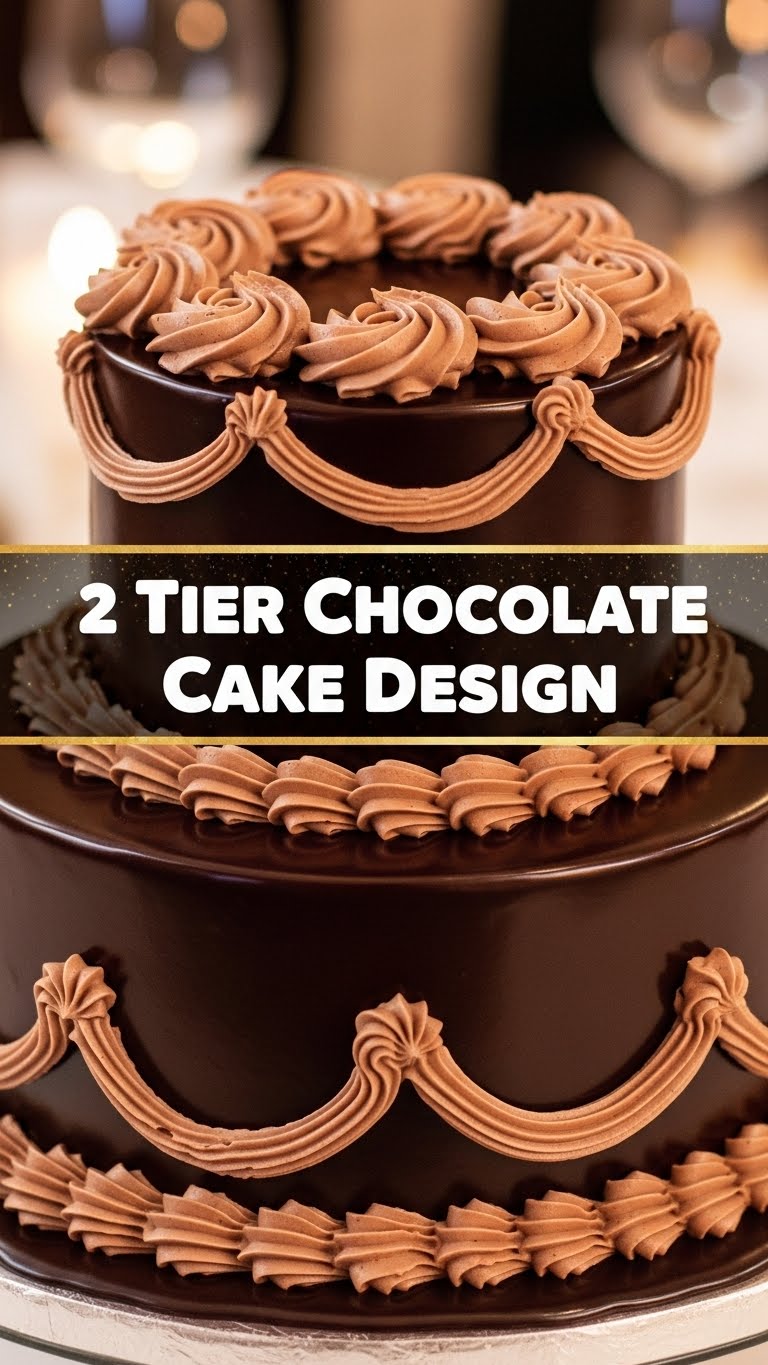
- Showstopper Status: A 2-tier cake just screams “I put effort into this!” even if the effort was mostly just following these super chill instructions. Prepare for compliments, you culinary rockstar.
- Therapeutic: There’s something oddly satisfying about stacking cakes. It’s like edible LEGOs, but way tastier.
Ingredients You’ll Need
Get ready to raid your pantry. We’re keeping it simple, but good quality ingredients make all the difference, IMO.
For the Seriously Good Chocolate Cake (Two Tiers!)
- All-purpose flour: 2 ½ cups. The backbone of our cake dreams.
- Granulated sugar: 2 cups. Sweetness is key, my friends.
- Unsweetened cocoa powder (good quality!): ¾ cup. Don’t skimp here; this is where the chocolate magic happens.
- Baking soda: 2 teaspoons. Our lift-off agent.
- Baking powder: 1 teaspoon. More lift! We want tall, proud tiers.
- Salt: 1 teaspoon. Don’t skip it; it brings out all the flavors.
- Large eggs: 2, at room temp. Room temp eggs mix better, trust me.
- Milk: 1 cup, at room temp. Whole milk is best for richness, but whatever you have works.
- Vegetable oil: ½ cup. For that glorious moisture.
- Vanilla extract: 2 teaspoons. A touch of fancy.
- Boiling water: 1 cup. Yes, boiling! It’s our secret weapon for a super moist cake.
For the Dreamy Chocolate Buttercream Frosting
- Unsalted butter: 1 cup (2 sticks), softened. The good stuff, leave the margarine for… well, let’s not talk about margarine.
- Powdered sugar (confectioners’ sugar): 4-5 cups, sifted. Sifting prevents lumps, and nobody likes lumpy frosting.
- Unsweetened cocoa powder: ½ cup. More chocolate, because why not?
- Heavy cream or milk: ¼ – ½ cup. To get that perfect, spreadable consistency.
- Vanilla extract: 1 teaspoon.
- Pinch of salt: Balances the sweetness.
Step-by-Step Instructions
Deep breaths, you got this. Follow these steps, and you’ll be a cake-stacking maestro in no time!
- Preheat & Prep: First things first, preheat your oven to 350°F (175°C). Grease and flour two round cake pans: one 8-inch and one 6-inch. You can also line the bottoms with parchment paper for extra non-stick insurance.
- Dry Ingredients Unite: In a large bowl, whisk together the flour, sugar, cocoa powder, baking soda, baking powder, and salt. Make sure it’s all nicely combined, no lumpy bits allowed!
- Wet Ingredients In: Add the eggs, milk, oil, and vanilla extract to the dry ingredients. Mix on medium speed with an electric mixer until just combined. Don’t overmix; we want a tender cake, not a tough one!
- The Boiling Water Secret: Carefully pour the boiling water into the batter. Mix on low speed until the batter is smooth. It will be thin, and that’s okay! It’s our secret to an incredibly moist cake.
- Bake ‘Em Up: Divide the batter evenly between your prepared 8-inch and 6-inch pans. Bake the 8-inch cake for about 30-35 minutes and the 6-inch cake for about 25-30 minutes, or until a wooden skewer inserted into the center comes out clean.
- Cool Down: Let the cakes cool in their pans for about 10-15 minutes before inverting them onto a wire rack to cool completely. This is crucial! Do NOT try to frost warm cakes. Trust me, it’s a messy nightmare.
- Buttercream Time: While the cakes are chilling, make the frosting! Beat the softened butter in a large bowl with an electric mixer until creamy. Gradually add the sifted powdered sugar and cocoa powder, alternating with splashes of heavy cream/milk, until smooth and fluffy. Beat in the vanilla and salt. Add more cream if it’s too thick, or more powdered sugar if it’s too thin.
- Level Up: Once the cakes are completely cool, use a serrated knife to level the tops of each cake. This makes for even, stable tiers. You can split each cake into two layers if you want more frosting layers, but for simplicity, we’ll keep them as single layers for each tier.
- Frost and Stack: Place the 8-inch cake on your serving platter. Spread a generous layer of buttercream on top. Carefully center the 6-inch cake on top of the 8-inch cake. Spread frosting on the top and sides of the entire cake, smoothing it out with an offset spatula or knife. Don’t stress too much about perfection; rustic is in!
- Chill Out: Pop your beautiful creation in the fridge for about 15-30 minutes to let the frosting set slightly. This makes it easier to handle and ensures everything stays put.
Common Mistakes to Avoid
Nobody’s perfect, but we can learn from past baking blunders. Here are a few traps to sidestep:
- Warm Cakes + Frosting = Disaster: Seriously, don’t do it. Your frosting will melt and slide off, and you’ll end up with a sad, soupy mess. Patience, young padawan!
- Overmixing the Batter: This is a cardinal sin! Overmixing develops too much gluten, resulting in a tough, chewy cake. Mix until just combined, then stop.
- Not Leveling Your Cakes: If your cake layers are lopsided, your tiered cake will look like it’s leaning after a long night out. Spend a minute with a serrated knife to get those tops flat.
- Eyeballing Ingredients: Baking is a science, not an art (mostly). Accurate measurements, especially for flour and leavening agents, are important. Use proper measuring cups and spoons!
- Forgetting to Grease & Flour: Rookie mistake! There’s nothing worse than a perfectly baked cake that’s stuck to the pan. Don’t be that person.
Alternatives & Substitutions
Feeling adventurous? Or just missing an ingredient? No stress, we got options!
- Buttermilk Bonanza: Don’t have whole milk? Use 1 cup of buttermilk for an even tangier, more tender cake. If you don’t have buttermilk, add 1 tablespoon of white vinegar or lemon juice to a measuring cup, then fill the rest with regular milk and let it sit for 5 minutes. Boom, DIY buttermilk!
- Coffee Kick: For an even deeper chocolate flavor (and who doesn’t want that?), substitute the boiling water with boiling coffee. It seriously enhances the chocolate without making the cake taste like coffee. It’s a game-changer!
- Spice It Up: Add a pinch of cinnamon or a tiny dash of cayenne pepper to the cake batter for a subtle, unexpected warmth that pairs amazingly with chocolate. Don’t knock it ’til you try it!
- Different Frosting Vibes: Not feeling chocolate buttercream overload? Try a cream cheese frosting, a raspberry reduction buttercream, or even a simple ganache drizzle. The world is your oyster… or your cake!
- Gluten-Free Swap: For our gluten-sensitive friends, you can usually swap the all-purpose flour for a good quality 1:1 gluten-free baking blend. Just make sure it includes xanthan gum.
FAQ (Frequently Asked Questions)
Got questions? I’ve got (casual) answers!
Can I make the cakes ahead of time? Absolutely! You can bake the cake layers up to 2-3 days in advance. Once completely cooled, wrap them tightly in plastic wrap and store them at room temperature, or freeze them for up to a month. Just thaw them before frosting!
Do I really need boiling water? What if I use cold water? You can technically use warm water, but boiling water is magical. It “blooms” the cocoa powder, releasing more intense chocolate flavor, and helps create that super moist texture. So yeah, for best results, use boiling!
My frosting is too thin/thick, help! No worries! If it’s too thin, gradually add more sifted powdered sugar. If it’s too thick, add a tablespoon of heavy cream or milk at a time until you reach the desired consistency. It’s all about finding that sweet spot!
How do I stop my cake from sticking to the pan? A combo of greasing and flouring (or using baking spray with flour) is your best friend. For extra security, cut a circle of parchment paper to fit the bottom of your pan after greasing, then grease and flour over that. No cake left behind!
Can I use a different size cake pan? Yes, but baking times will vary. If you go smaller, they’ll bake faster; larger, they’ll take longer. Always do the skewer test! Just make sure your pans are suitable for baking.
How do I store the finished cake? Covered, at room temperature for up to 2 days, or in the fridge for up to 5 days. Let it come closer to room temp before serving for the best flavor and texture. No one likes cold, stiff cake!
Final Thoughts
See? That wasn’t so scary, was it? You just whipped up a gorgeous, delicious, 2-tier chocolate cake that probably looks like it came from a fancy bakery (but tastes way better because you made it with love… and chocolate). Now go impress someone—or yourself—with your new culinary skills. You’ve earned it!
Don’t forget to snap a pic before you demolish it. Happy baking, my friend!


