Okay, real talk. You just scrolled past a million fancy recipes with ingredients you can’t pronounce and instructions that read like a tax form, right? And now you’re here because you want something legitimately delicious, super easy, and preferably made with stuff you *already have*. So you’re craving something tasty but too lazy to spend forever in the kitchen, huh? Same. 😉
Why This Recipe is Awesome
This isn’t just a recipe; it’s a life hack. Seriously. It’s so ridiculously simple, your pet hamster could probably make it (if hamsters had opposable thumbs and an oven preheating awareness). You want minimal cleanup? Check. You want something that tastes like you actually tried? Double check. It’s practically **idiot-proof**, and coming from someone who once set off the smoke alarm boiling water, that’s high praise.
Ingredients You’ll Need
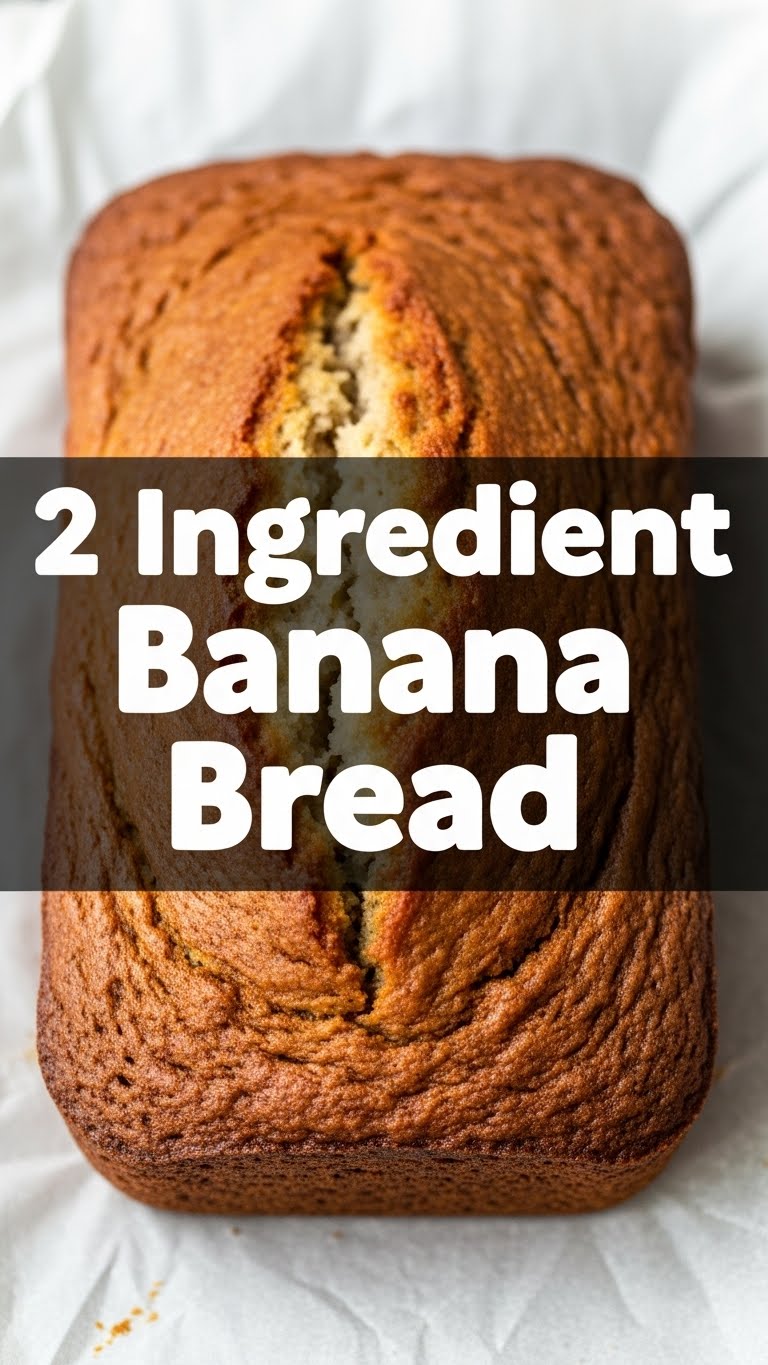
Ripe Bananas (3-4 medium, or 2 large): And by ripe, I mean the ones you’ve been “saving” on your counter, slowly turning into dark, spotty, questionable science experiments. The darker, the better, trust me. These are your flavor bombs and the only source of sweetness you’ll need!
Self-Rising Flour (1 cup): This is the secret MVP. It’s got the leavening agent (baking powder) and a bit of salt already mixed in, so no need for baking powder, baking soda, or any other powdery mysteries. If you don’t have it, don’t panic, but also, go get some. It’s a game-changer for lazy baking, FYI.
Step-by-Step Instructions
Preheat & Prep: Crank your oven to a cozy **350°F (175°C)**. Grab a standard loaf pan and either grease it with a bit of butter/oil or line it with parchment paper. Don’t skip this, unless you enjoy wrestling your banana bread out of the pan. Nobody has time for that.
Mash ‘Em Up: Peel those gloriously overripe bananas. Throw them into a medium-sized bowl. Now, grab a fork and go to town. Mash them until they’re mostly smooth, with a few small lumps if you like texture. Think chunky applesauce, but banana-fied.
Combine the Magic: Add the self-rising flour to your mashed bananas. Stir gently with a spoon or spatula until *just* combined. **Don’t overmix!** Seriously, stop stirring as soon as you don’t see any dry flour streaks. Overmixing leads to tough banana bread, and nobody wants that.
Into the Pan: Pour your glorious batter into the prepared loaf pan. Give the pan a gentle tap or two on the counter to settle the batter and release any rogue air bubbles.
Bake Away: Pop it into your preheated oven. Bake for about **25-30 minutes**, or until a toothpick inserted into the center comes out clean. If the top looks like it’s browning too fast, loosely tent it with foil.
Cool Down: Once baked, take it out of the oven. Let it cool in the pan for about 10-15 minutes before carefully transferring it to a wire rack to cool completely. Patience is a virtue, especially when warm banana bread is involved.
Common Mistakes to Avoid
Using underripe bananas: Rookie mistake! Green or yellow bananas won’t give you that natural sweetness and moist texture. They’re just not ready for their destiny. Think brown spots, lots of ’em.
Overmixing the batter: We talked about this, hon! It’s not a contest to see who can stir the longest. Gentle is key for tender banana bread. Once the flour disappears, you’re done.
Forgetting to preheat the oven: Just… why? Your oven needs to be at the correct temperature from the start for even baking. It’s like trying to run a marathon without warming up.
Not greasing your pan: Unless you want to serve your banana bread *with* bits of your loaf pan stuck to it, grease it! Or use parchment paper. It’s not rocket science, it’s just common sense.
Alternatives & Substitutions
No self-rising flour? Okay, fine, if you *insist* on making things complicated. You can make your own by combining 1 cup of all-purpose flour with 1.5 teaspoons of baking powder and 1/4 teaspoon of salt. **Pro tip:** whisk them together really well before adding to the bananas.
Add-ins: Feeling fancy? A handful of chocolate chips (dark, milk, white – you do you!), chopped walnuts, pecans, or even a dash of cinnamon or vanilla extract will elevate this from “super easy” to “super easy *and* gourmet-ish.” Just remember, add them in with the flour mixture!
Different Pan Shapes: Don’t have a loaf pan? A small round cake pan or even muffins will work. Adjust baking time accordingly – muffins will bake faster (think 15-20 minutes)!
FAQ (Frequently Asked Questions)
Can I use frozen bananas? Absolutely! Just make sure to thaw them completely and drain any excess liquid before mashing. They actually get even sweeter and softer when thawed, which is a win-win!
My banana bread is dense. What went wrong? Chances are, you overmixed the batter, sweetie. Or your bananas weren’t ripe enough. Next time, be gentle and let those bananas get good and spotty!
Can I make this gluten-free? You can try using a gluten-free self-rising flour blend. I haven’t personally tested it, but in theory, it should work! Let me know if you try it!
How do I store leftovers? Pop it in an airtight container at room temp for a couple of days, or in the fridge for up to a week. It also freezes beautifully for longer storage! Just wrap it tightly.
Is this recipe *really* only two ingredients? Yes, my friend, *really*. Bananas + self-rising flour. That’s the magic. Anything else you add is just for funsies. Don’t believe me? Try it!
What if I don’t like bananas? …Then why are you here? Kidding! But seriously, the banana flavor is pretty dominant. Maybe try a different two-ingredient recipe, like pizza dough (flour + Greek yogurt!).
Final Thoughts
See? I told you it was easy! You just whipped up a delicious loaf of banana bread with barely any effort. Now go impress someone—or yourself—with your new culinary skills. You’ve earned it! Grab a slice (or three), maybe a cup of coffee, and revel in your domestic glory. You’re basically a master baker now, IMO. 😉
