Okay, so you’re scrolling, you’re hungry, and you just had a vision of the most epic chocolate cake ever. But the idea of spending a *day* in the kitchen just to impress a dessert is… well, not our vibe. Same. Good news: I’ve got your back with a recipe that looks like you spent a weekend on it, but is secretly, delightfully simple. We’re talking a 10-Layer Chocolate Cake that’s more “ooh-la-la” than “oh-no-my-back-hurts.” Let’s dive in!
Why This Recipe is Awesome
Because let’s be real, a 10-layer cake sounds like a monumental task, right? Like something a professional pastry chef with a monocle and a fancy hat would make. But guess what? This version is so ridiculously easy, **even I didn’t mess it up**, and my track record with anything more complex than toast is questionable. It’s essentially two normal chocolate cakes that we get a little fancy with. It’s rich, it’s decadent, and it gives off major “I’m a baking genius” vibes without the actual genius-level effort. Plus, ten layers means ten times the chocolatey goodness, which, IMO, is just good math.
Ingredients You’ll Need
Get ready to summon your inner chocolate wizard. Here’s what you’ll need for this tower of deliciousness:
- For the Cake:
- 3 cups all-purpose flour (because who has cake flour lying around on a Tuesday, am I right?)
- 3 cups granulated sugar (yes, a lot, it’s a 10-layer cake, not a health salad)
- 1 ½ cups unsweetened cocoa powder (the good stuff, please; don’t skimp here unless you like sad-tasting chocolate)
- 1 tablespoon baking soda (for that fluffy lift)
- 1 ½ teaspoons baking powder (teamwork makes the dream work)
- 1 ½ teaspoons salt (enhances all that chocolatey flavor)
- 4 large eggs (room temp, if you’re feeling fancy; otherwise, whatever, it’ll probably be fine)
- 1 ½ cups buttermilk (the secret to super moist cake – if you don’t have it, a tablespoon of vinegar or lemon juice in regular milk works in a pinch!)
- ¾ cup vegetable oil (or any neutral oil)
- 1 ½ tablespoons vanilla extract (don’t skip the vanilla, it brings out the chocolate)
- 1 ½ cups hot water (or hot coffee for extra depth – highly recommended!)
- For the Frosting (Chocolate Buttercream):
- 1 ½ cups unsalted butter, softened (a ridiculous amount, but totally worth it)
- 6-8 cups powdered sugar (depending on how sweet you like it and how much you “taste test”)
- 1 ½ cups unsweetened cocoa powder
- 1 ½ teaspoons vanilla extract
- ¾ cup heavy cream or milk (more if needed for desired consistency)
- Pinch of salt (to cut through the sweetness)
Step-by-Step Instructions
Alright, apron on, good vibes only! Let’s build this edible masterpiece.
- Preheat & Prep: Set your oven to 350°F (175°C). Grease and flour two 8 or 9-inch round cake pans. Or, better yet, line them with parchment paper – it’s a lifesaver, trust me.
- Dry Mix Magic: In a large bowl, whisk together the flour, sugar, cocoa powder, baking soda, baking powder, and salt. Give it a good whisk until no lumps are hiding.
- Wet Mix Whisk: In another, slightly smaller bowl, whisk the eggs, buttermilk, oil, and vanilla extract.
- Combine Forces: Pour the wet ingredients into the dry ingredients. Mix until just combined. Don’t overmix! **Overmixing leads to tough cakes**, and we’re not about that life.
- Hot Water Boost: Slowly pour in the hot water (or coffee), mixing on low speed until the batter is smooth. The batter will be thin – don’t panic, it’s supposed to be!
- Bake It Up: Divide the batter evenly between your two prepared cake pans. Bake for 30-35 minutes, or until a toothpick inserted into the center comes out with moist crumbs, not wet batter.
- Cool Down: Let the cakes cool in the pans for about 10-15 minutes, then invert them onto a wire rack to cool completely. This part is crucial! **Don’t try to slice warm cakes** unless you enjoy crumble.
- Frosting Time! While the cakes cool, make your frosting. In a large bowl, beat the softened butter until creamy. Gradually add the powdered sugar and cocoa powder, alternating with the heavy cream/milk, until smooth and fluffy. Stir in the vanilla and salt. Adjust consistency with more cream or powdered sugar as needed.
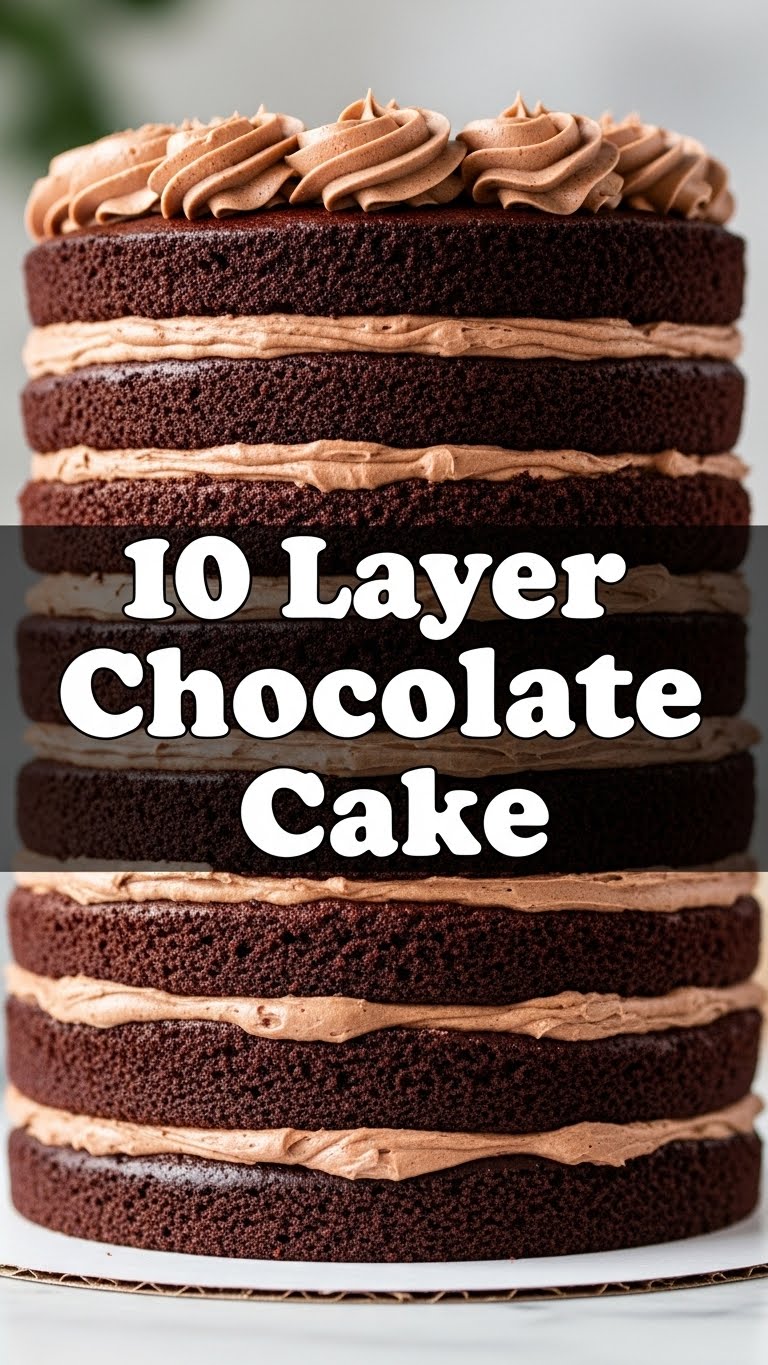
- The 10-Layer Illusion: Once your cakes are totally cool, it’s showtime. Using a long, serrated knife (or a cake leveler if you’re fancy), carefully slice each cake horizontally into 5 even layers. **Go slow and steady!**
- Stack ‘Em High: Place your first layer on your serving plate. Spread a generous amount of frosting over it. Repeat with the remaining layers, stacking them up. Use a spatula to smooth the sides and top.
- Chill Out: Pop your masterpiece in the fridge for about 30 minutes to let the frosting set. This makes slicing cleaner.
- Devour! Slice yourself a monstrous piece (you earned it) and enjoy the fruits of your labor!
Common Mistakes to Avoid
Baking is fun, but a few rookie errors can make it less so. Steer clear of these:
- Not preheating the oven: Seriously, this isn’t optional. Your cakes won’t rise properly. Don’t be that person.
- **Overmixing the batter:** I’ll say it again: overmixing develops gluten and makes your cake tough. Mix until just combined, then back away from the mixer!
- Slicing warm cakes: Patience, young padawan. A warm cake crumbles like your hopes and dreams after a Monday morning. **Completely cool cakes** are your friend.
- **Using cold butter for frosting:** It just won’t cream properly, leaving you with lumpy frosting. Plan ahead or learn the microwave butter-softening hack (short bursts!).
- **Eyeballing ingredients:** Look, I love a good freestyle in the kitchen, but baking is a science. Use proper measurements, at least for the first time.
Alternatives & Substitutions
Feeling adventurous? Or just missing an ingredient? No worries, we can usually make it work!
- Buttermilk Substitute: No buttermilk? No problem! Add 1 tablespoon of white vinegar or lemon juice to a measuring cup, then fill the rest with regular milk until you reach 1 ½ cups. Let it sit for 5 minutes, and voila! Instant buttermilk.
- Coffee vs. Water: Using hot coffee instead of hot water in the batter isn’t just a substitution; it’s an *upgrade*. It deepens the chocolate flavor without making the cake taste like coffee. Try it!
- Oil vs. Butter: You can swap the vegetable oil for melted unsalted butter if you prefer, though oil often makes cakes a bit more moist. Either way, it’ll be delicious.
- Frosting variations: Not a fan of chocolate buttercream (gasp!)? You could do a simple vanilla buttercream, cream cheese frosting, or even a ganache for a richer experience. Your cake, your rules!
FAQ (Frequently Asked Questions)
- **”Can I make this cake ahead of time?”** Absolutely! The unfrosted cake layers can be wrapped tightly in plastic wrap and stored at room temperature for a day or two, or frozen for up to a month. Just thaw before slicing and frosting. The frosted cake keeps well in the fridge for 3-4 days.
- **”My cake isn’t rising as much as I’d like. What gives?”** Did you check your baking soda and baking powder expiration dates? Old leavening agents are notoriously lazy. Also, ensure your oven temperature is accurate – an oven thermometer can be a game-changer.
- **”How do I slice the layers evenly?”** This is where practice comes in! A good serrated knife is key. You can also use toothpicks around the cake’s perimeter as a guide. Some folks swear by a ruler. Just remember, perfection is boring anyway, right?
- **”Can I use semi-sweet chocolate chips in the batter?”** No, no, no. The recipe calls for cocoa powder, which is essential for the chocolate structure and flavor. Chocolate chips would just melt and mess with the texture. Save those for a different treat!
- **”My frosting is too thin/thick!”** Easy fix! If it’s too thin, add more powdered sugar a quarter cup at a time. Too thick? Add more heavy cream or milk, one tablespoon at a time, until you hit that perfect spreadable consistency.
Final Thoughts
Phew! You’ve made it! This 10-Layer Chocolate Cake isn’t just a dessert; it’s a statement. It says, “Yes, I know how to bake, and yes, I’m capable of incredible things, especially when those things involve chocolate.” So go ahead, pat yourself on the back. Now go impress someone—or yourself—with your new culinary skills. You’ve earned it!


